
Kubernetes resource limits are always a tricky setting to tweak, since you have to find the sweet spot between having the limits too tight or too loose.
In this article, which is a continuation of the Kubernetes capacity planning series, you’ll learn how to set the right Kubernetes resource limits: from detecting the containers without any limit, to finding the right Kubernetes resource limits you should set in your cluster.
We are assuming that you’re using Prometheus for monitoring your Kubernetes cluster. That’s why every step in this guide is illustrated with example PromQL queries.
Detecting containers without Kubernetes resource limits
The first step to set the right Kubernetes resource limits is to detect the containers without any limits.
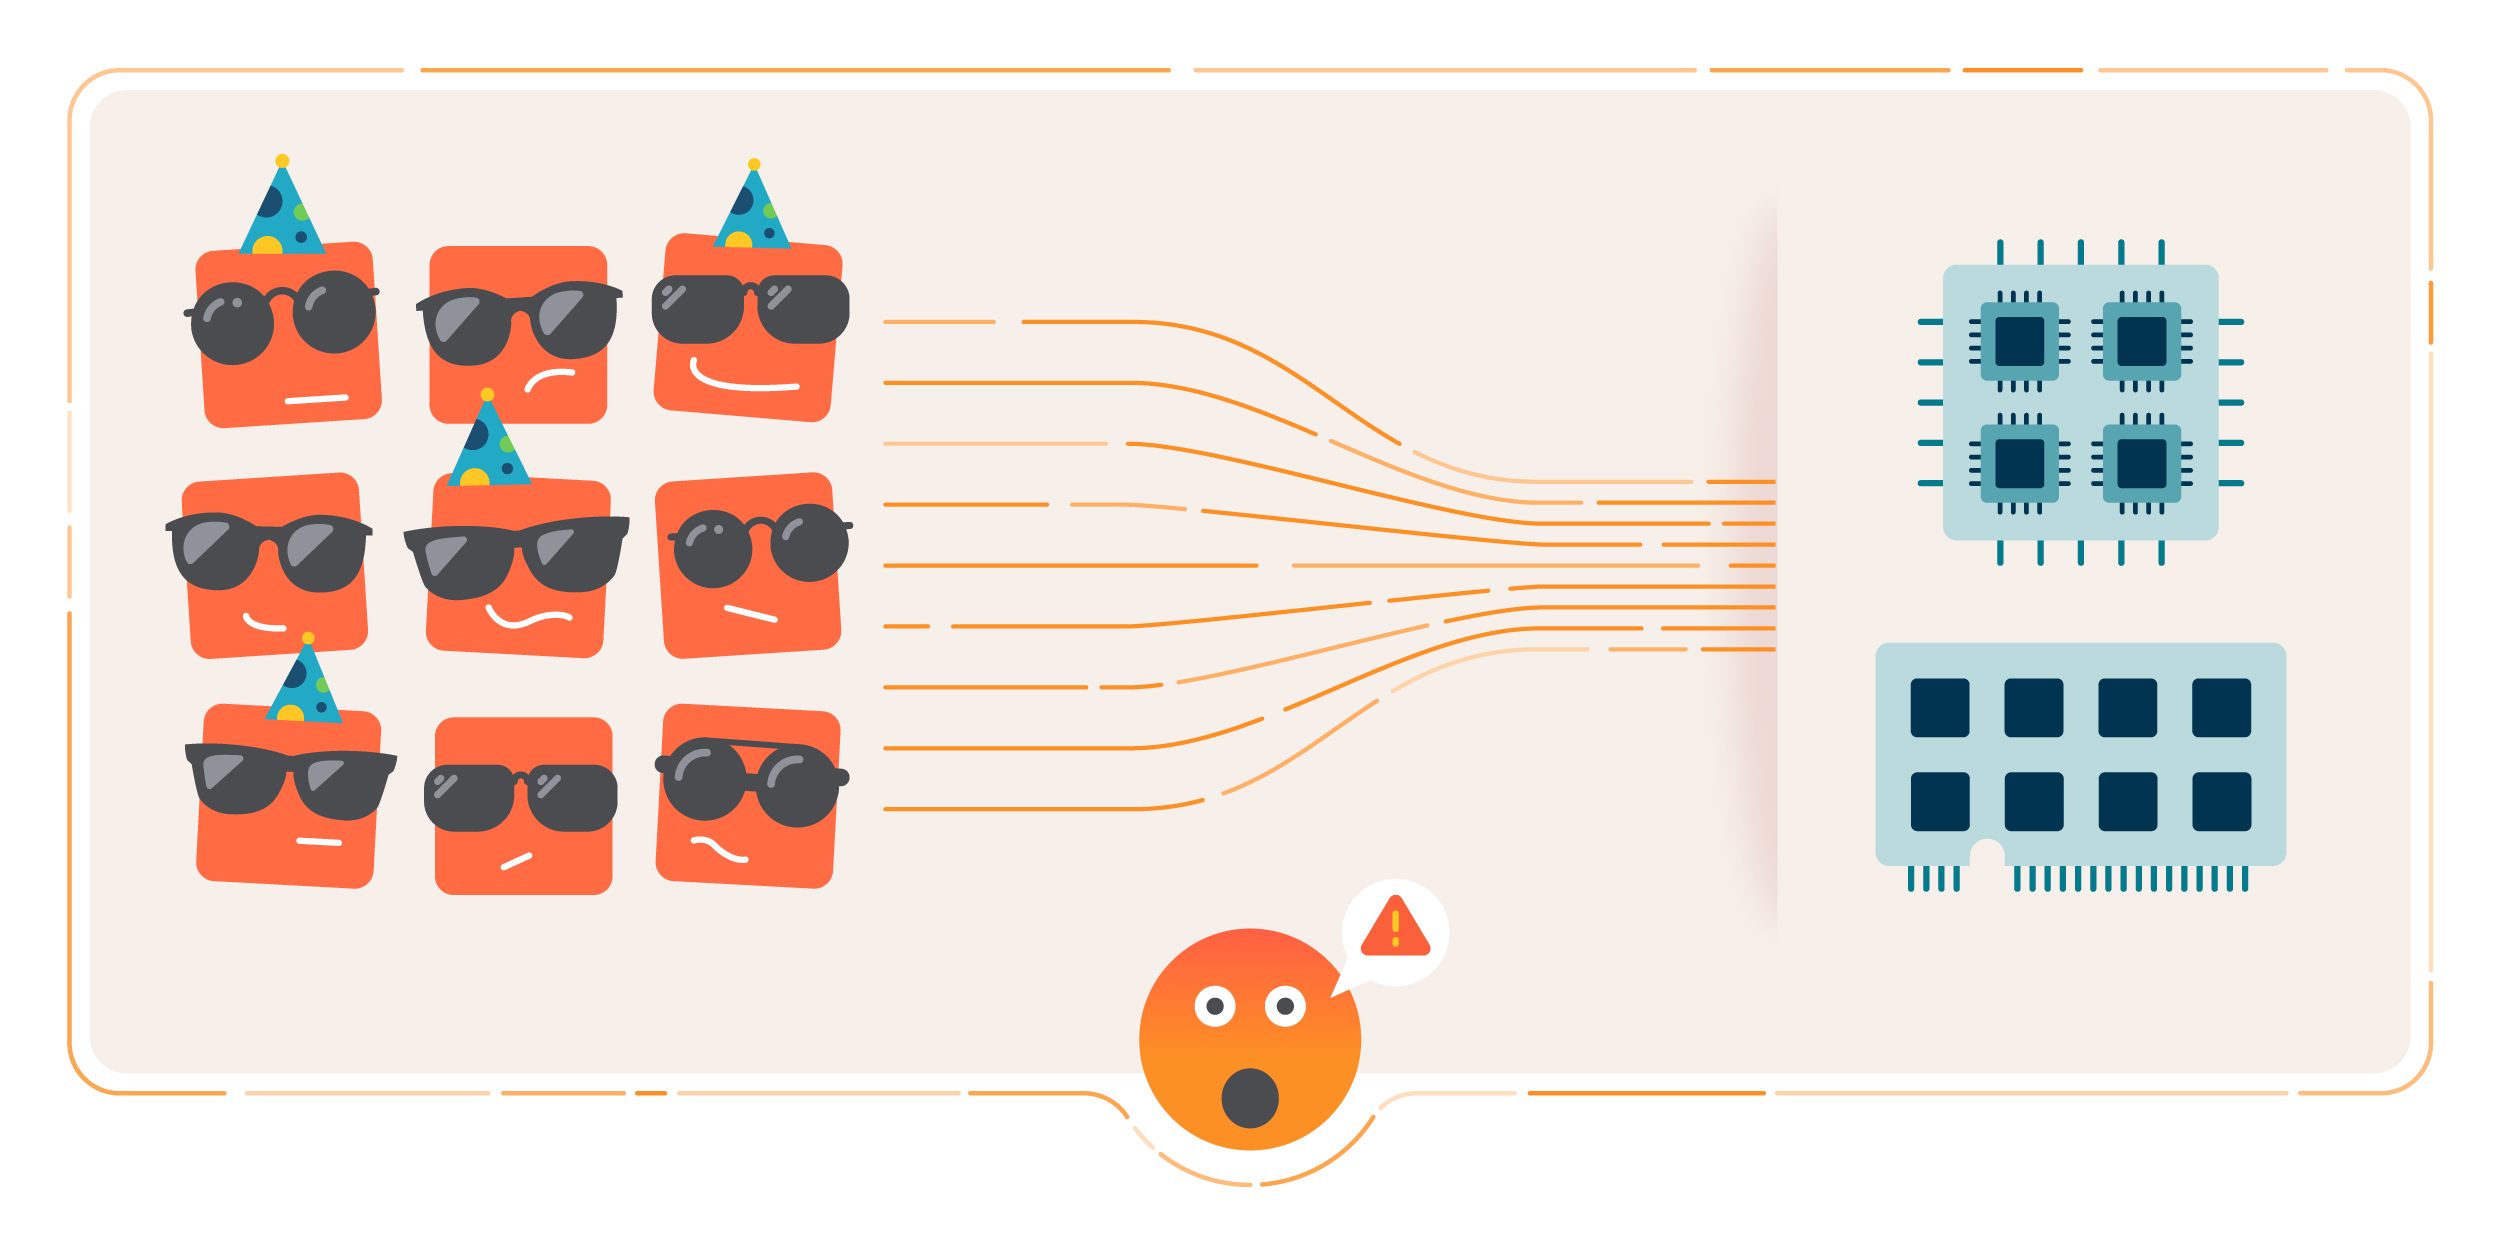
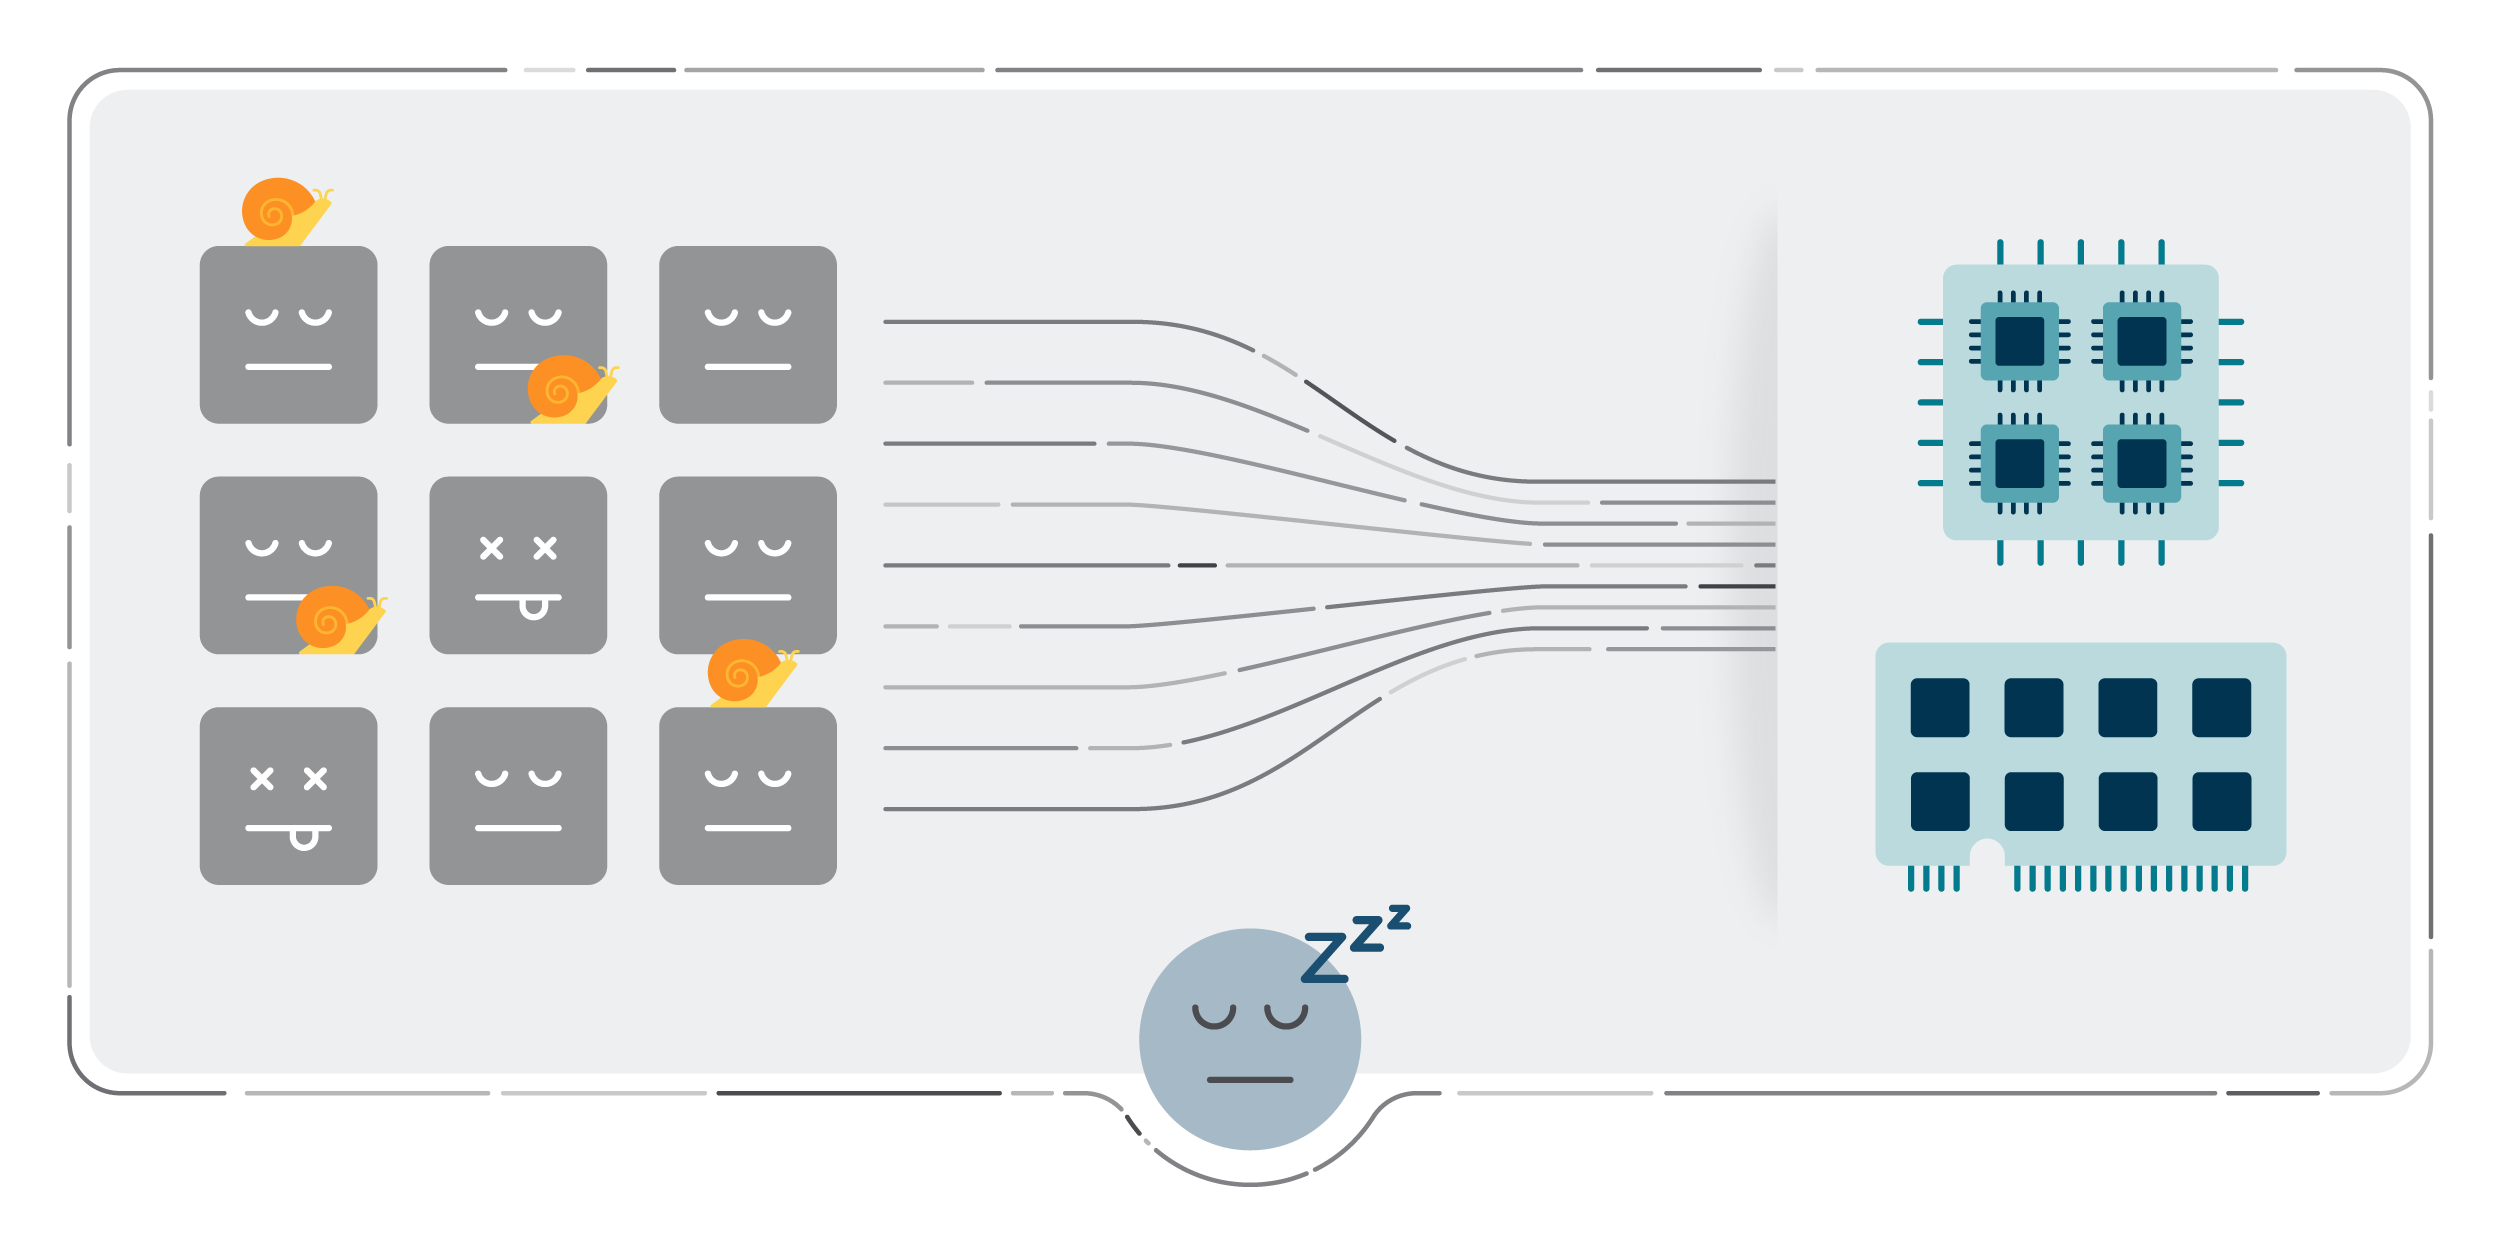
Containers without Kubernetes resource limits can cause very critical consequences in your Kubernetes nodes. In the best case, the nodes will start evicting pods in order or scoring. They also will have performance issues due to CPU throttling. In the worst-case scenario, the nodes will die of memory starvation.
Find the containers without Kubernetes resource limits
Containers without CPU limits by namespace
sum by (namespace)(count by (namespace,pod,container)(kube_pod_container_info{container!=""}) unless sum by (namespace,pod,container)(kube_pod_container_resource_limits{resource="cpu"}))Code language: JavaScript (javascript)Containers without memory limits by namespace
sum by (namespace)(count by (namespace,pod,container)(kube_pod_container_info{container!=""}) unless sum by (namespace,pod,container)(kube_pod_container_resource_limits{resource="memory"}))Code language: JavaScript (javascript)Found too many containers without Kubernetes resource limits?
Maybe you found several containers without Kubernetes resource limits. Let’s focus on the most dangerous ones for now. How? Easy, just find the top 10 containers that are using more resources and have no Kubernetes resource limits.
Top 10 containers without CPU limits, using more CPU
topk(10,sum by (namespace,pod,container)(rate(container_cpu_usage_seconds_total{container!=""}[5m])) unless sum by (namespace,pod,container)(kube_pod_container_resource_limits{resource="cpu"}))Code language: JavaScript (javascript)Top 10 containers without memory limits, using more memory
topk(10,sum by (namespace,pod,container)(container_memory_usage_bytes{container!=""}) unless sum by (namespace,pod,container)(kube_pod_container_resource_limits{resource="memory"}))Code language: JavaScript (javascript)Detecting containers with very tight Kubernetes resource limits
Detecting containers with very tight CPU limits
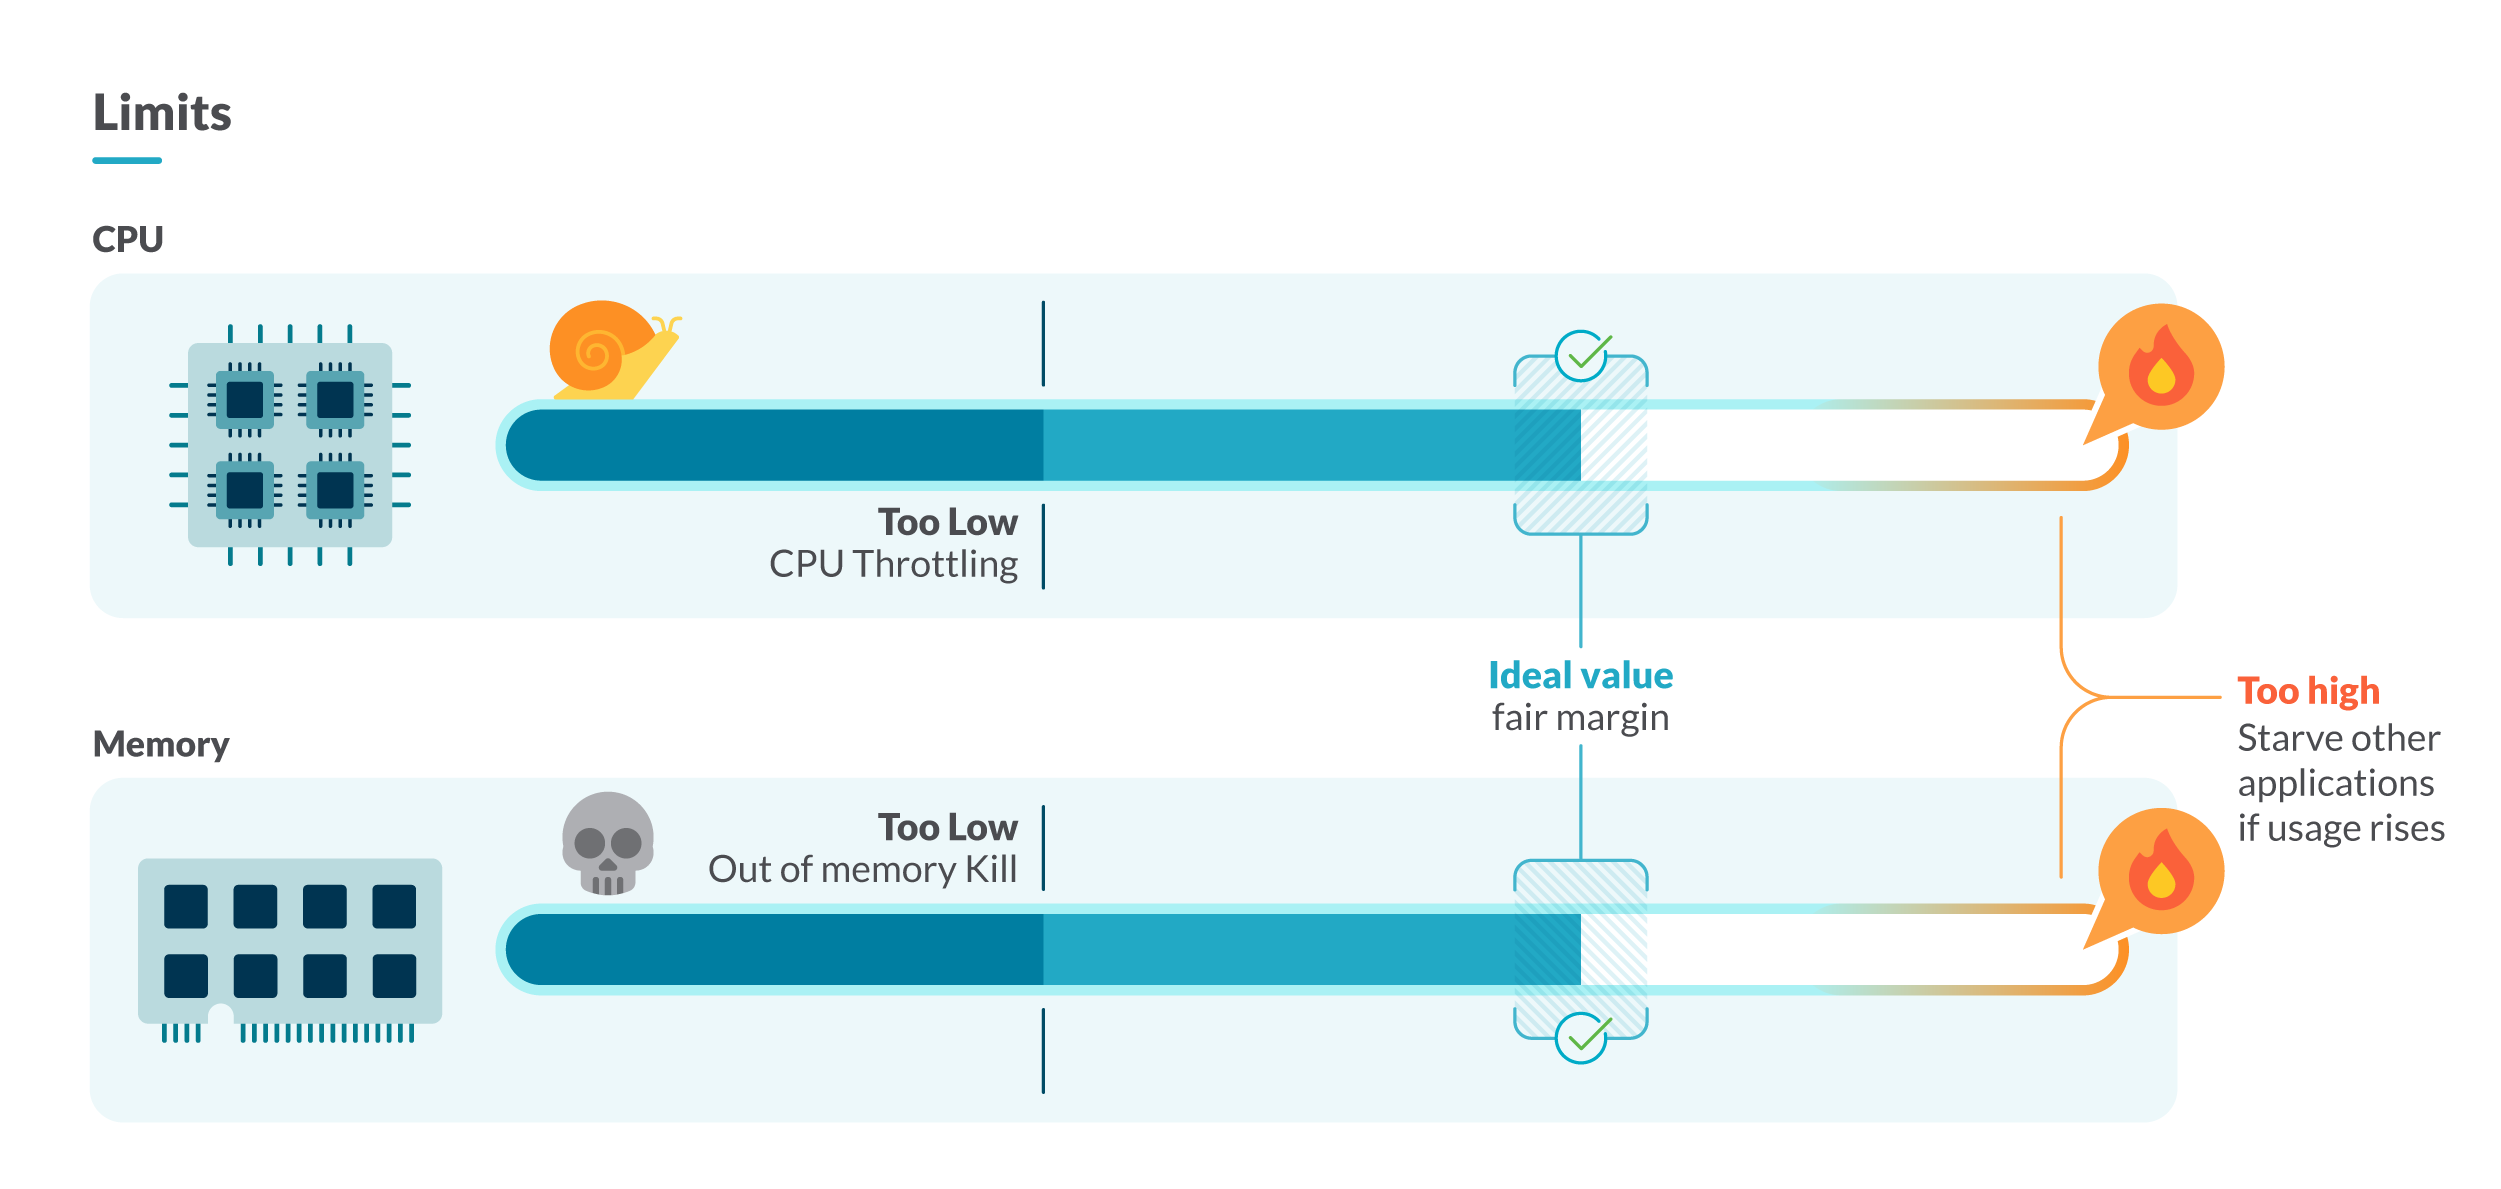
If a container is close to its CPU limit and needs to perform more CPU-demanding operations than usual, it will have a degraded performance due to CPU throttling.
Use this query to find the containers whose CPU usage is close to its limits:
(sum by (namespace,pod,container)(rate(container_cpu_usage_seconds_total{container!=""}[5m])) / sum by (namespace,pod,container)(kube_pod_container_resource_limits{resource="cpu"})) > 0.8Code language: JavaScript (javascript)Detecting containers with very tight memory limits
If a container is close to its memory limit and overpasses it, it will be killed.
Use this query to find the containers whose memory usage is close to its limits:
(sum by (namespace,pod,container)(container_memory_usage_bytes{container!=""}) / sum by (namespace,pod,container)(kube_pod_container_resource_limits{resource="memory"})) > 0.8
Code language: JavaScript (javascript)
How to set the right Kubernetes resource limits?
One way to do it is to study for a while the resource usage of the containers that we want to limit. To do this, we will focus our attention on the containers of the same kind and workload (being workload a deployment, daemonset, statefulset, etc.). Here, we have two strategies:
Conservative
We will select the value of the container that consumed the most in each moment. If we set the limit to that value, the containers won’t run out of resources.
Finding the right CPU limit, with the conservative strategy
max by (namespace,owner_name,container)((rate(container_cpu_usage_seconds_total{container!="POD",container!=""}[5m])) * on(namespace,pod) group_left(owner_name) avg by (namespace,pod,owner_name)(kube_pod_owner{owner_kind=~"DaemonSet|StatefulSet|Deployment"}))
Code language: JavaScript (javascript)
Finding the right memory limit, with the conservative strategy
max by (namespace,owner_name,container)((container_memory_usage_bytes{container!="POD",container!=""}) * on(namespace,pod) group_left(owner_name) avg by (namespace,pod,owner_name)(kube_pod_owner{owner_kind=~"DaemonSet|StatefulSet|Deployment"}))
Code language: JavaScript (javascript)
Aggressive
We will select the quantile 99 as the limit. This will leave the 1% most consuming out of the limits. This is a good strategy if there are sparse anomalies or peaks that you do not want to support.
Finding the right CPU limit, with the aggressive strategy
quantile by (namespace,owner_name,container)(0.99,(rate(container_cpu_usage_seconds_total{container!="POD",container!=""}[5m])) * on(namespace,pod) group_left(owner_name) avg by (namespace,pod,owner_name)(kube_pod_owner{owner_kind=~"DaemonSet|StatefulSet|Deployment"}))
Code language: JavaScript (javascript)
Finding the right memory limit, with the aggressive strategy
quantile by (namespace,owner_name,container)(0.99,(container_memory_usage_bytes{container!="POD",container!=""}) * on(namespace,pod) group_left(owner_name) avg by (namespace,pod,owner_name)(kube_pod_owner{owner_kind=~"DaemonSet|StatefulSet|Deployment"}))
Code language: JavaScript (javascript)
Has the cluster enough capacity?
In Kubernetes, nodes assure that the pods scheduled in them have enough resources based on each pod’s container requests. This also means that the node is committing to give every container the amount of CPU and memory set within their limits.
Talking about containers with very loose limits is the same as talking about limit overcommit. This happens when the sum of all Kubernetes resource limits is bigger than the capacity of that resource.
When you are overcommitting resources in your cluster, everything might run perfectly in normal conditions, but in high load scenarios, the containers could start consuming CPU and memory up to their limit. This will cause the node to start doing pod eviction, and in very critical situations, the node will die, due to the starvation of the available resources in the cluster.
Finding the overcommit of the cluster
We can check the overcommit percentage of our cluster on memory and CPU with this:
% memory overcommitted of the cluster
100 * sum(kube_pod_container_resource_limits{container!="",resource="memory"} ) / sum(kube_node_status_capacity_memory_bytes)
Code language: JavaScript (javascript)
% CPU overcommitted of the cluster
100 * sum(kube_pod_container_resource_limits{container!="",resource="cpu"} ) / sum(kube_node_status_capacity_cpu_cores)
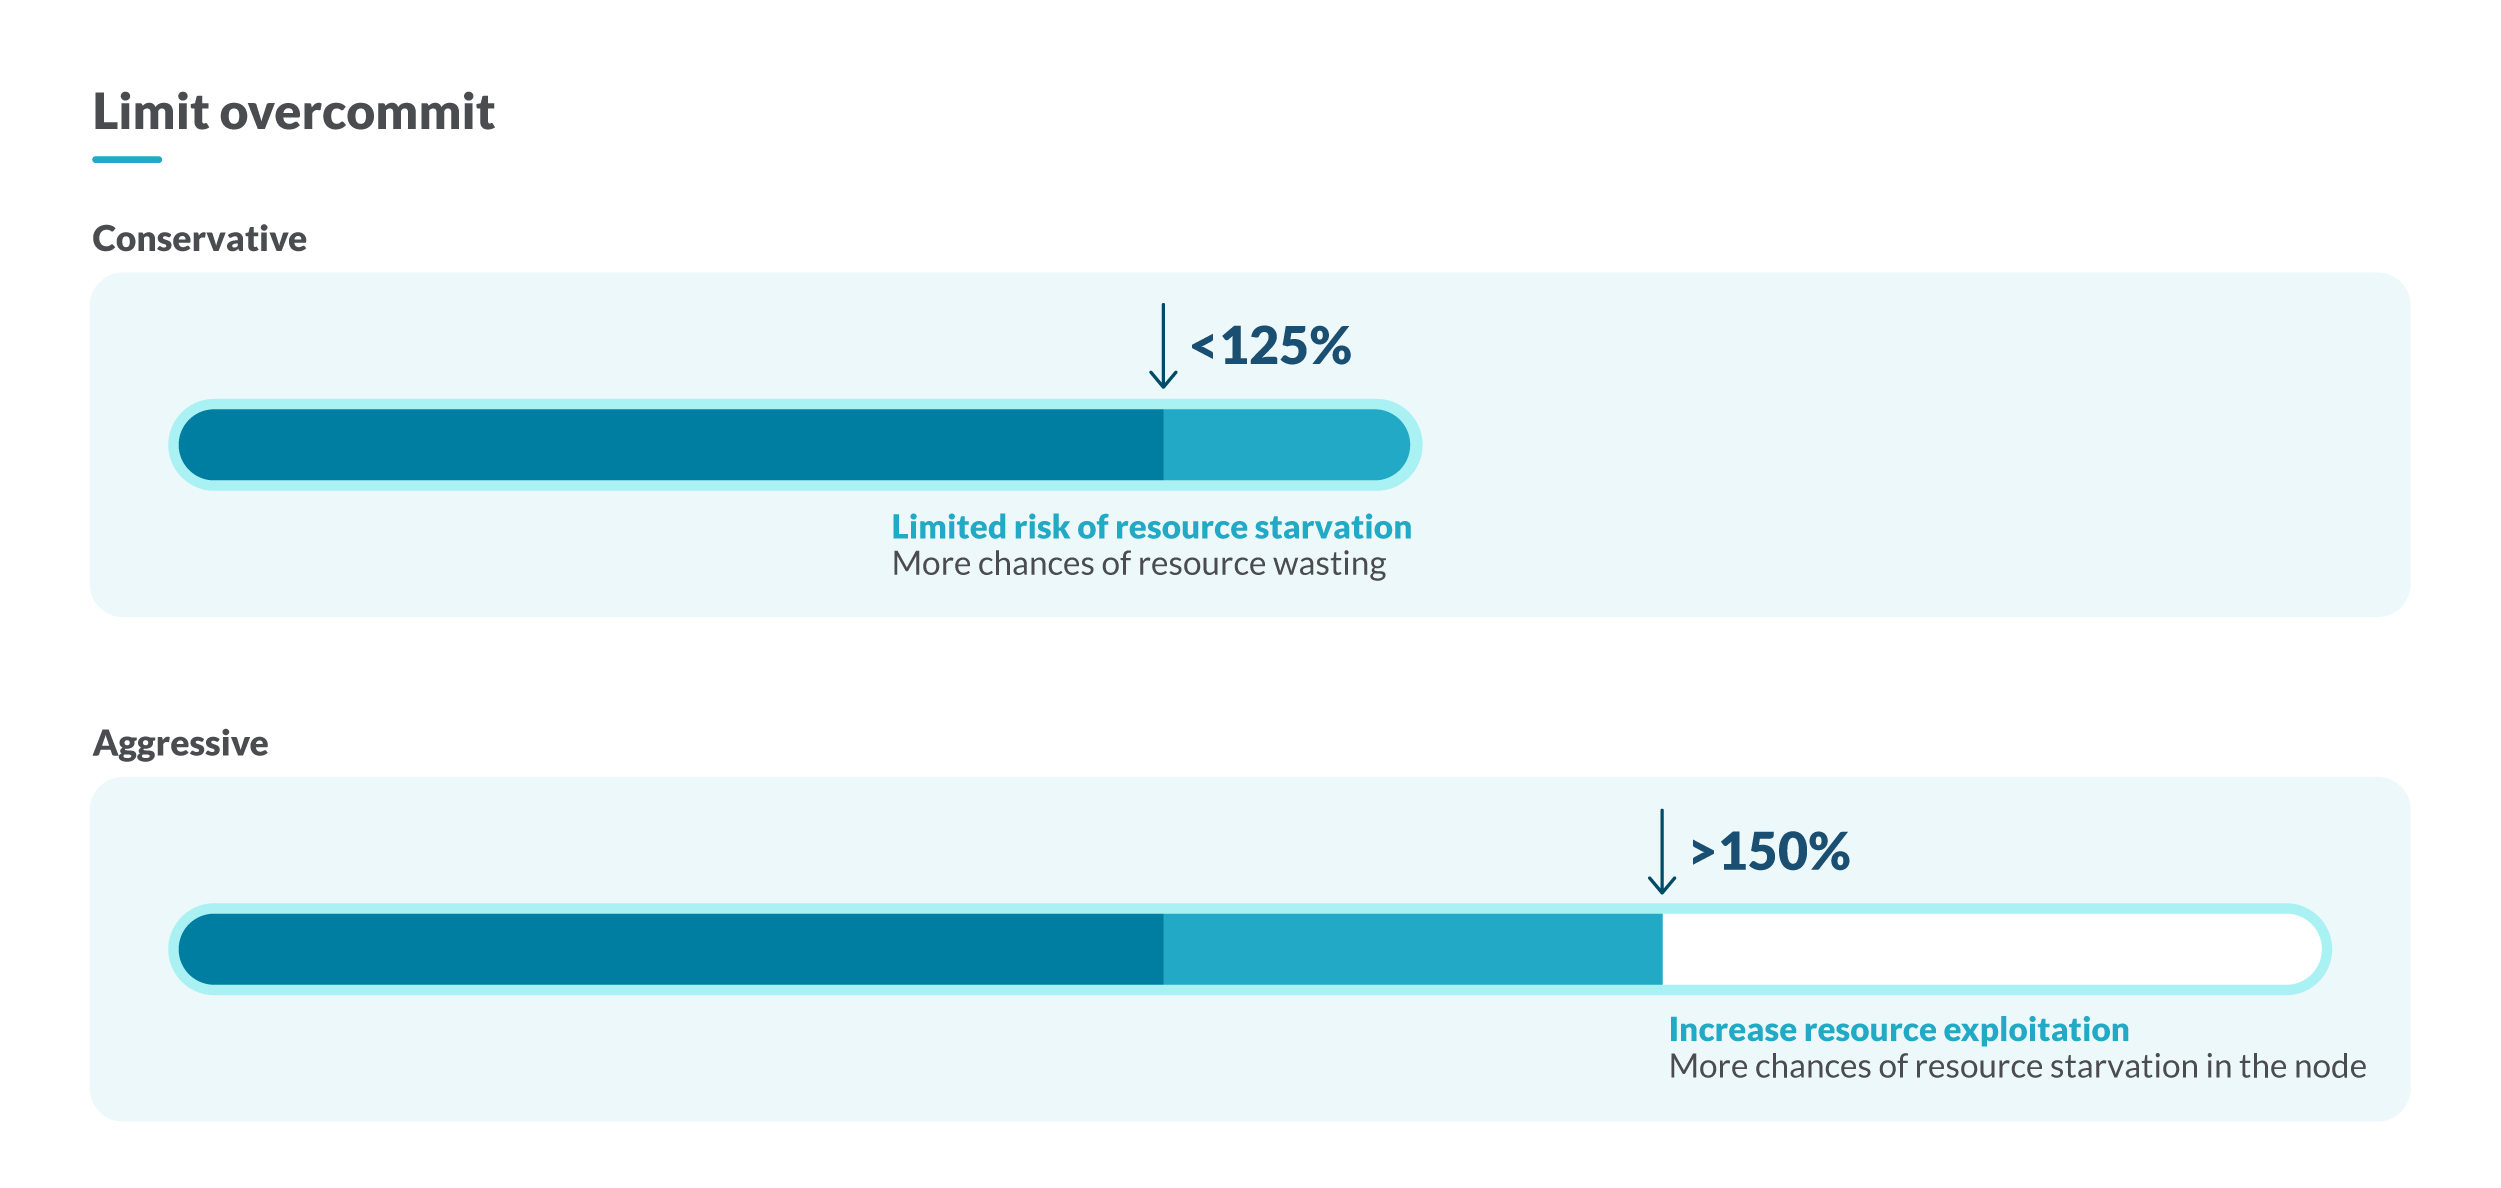
Code language: JavaScript (javascript)Normally, not all the containers will be consuming all their resources at the same time, so having an overcommit of 100% is ideal from a resource point of view. On the other hand, this will incur extra costs in infrastructure that will never be used.
To better adjust the capacity of your cluster, you can opt for a conservative strategy, assuring that the overcommit is under 125%, or an aggressive strategy if you let the overcommit reach 150% of the capacity of your cluster.
Finding the overcommit of the node
It is also important to check the overcommit per node. An example of node overcommit can be a pod with a request of 2 CPUs and a limit of 8. That pod can be scheduled in a node with 4 cores, but as the pod has 8 cores as the limit, the overcommit in that node would be 8 – 4 = 4 cores.
% memory overcommitted of the node
sum by (node)(kube_pod_container_resource_limits{container!="",resource="memory"} ) / sum by (node)(kube_node_status_capacity_memory_bytes)Code language: JavaScript (javascript)% CPU overcommitted of the node
sum by (node)(kube_pod_container_resource_limits{container!="",resource="cpu"} ) / sum by (node)(kube_node_status_capacity_cpu_cores)Code language: JavaScript (javascript)Putting it all together

In this article, you learned why it is key to understand Kubernetes limits and requests, how to detect inefficiencies in your cluster, and the different strategies we could follow to set the right Kubernetes resource limits.
If you want to dig deeper, you can learn more about limits and requests in Kubernetes, or how to rightsize the requests of your cluster.
How to do Kubernetes capacity planning with Sysdig
We, at Sysdig, use Kubernetes ourselves and help hundreds of customers dealing with their clusters every day. We are happy to share all that expertise with you in our out-of-the-box Kubernetes Dashboards. With the right dashboards, you won’t need to be an expert to troubleshoot or do Kubernetes capacity planning in your cluster.
With our out-of-the-box Kubernetes Dashboards, you can discover underutilized resources in a couple of clicks.
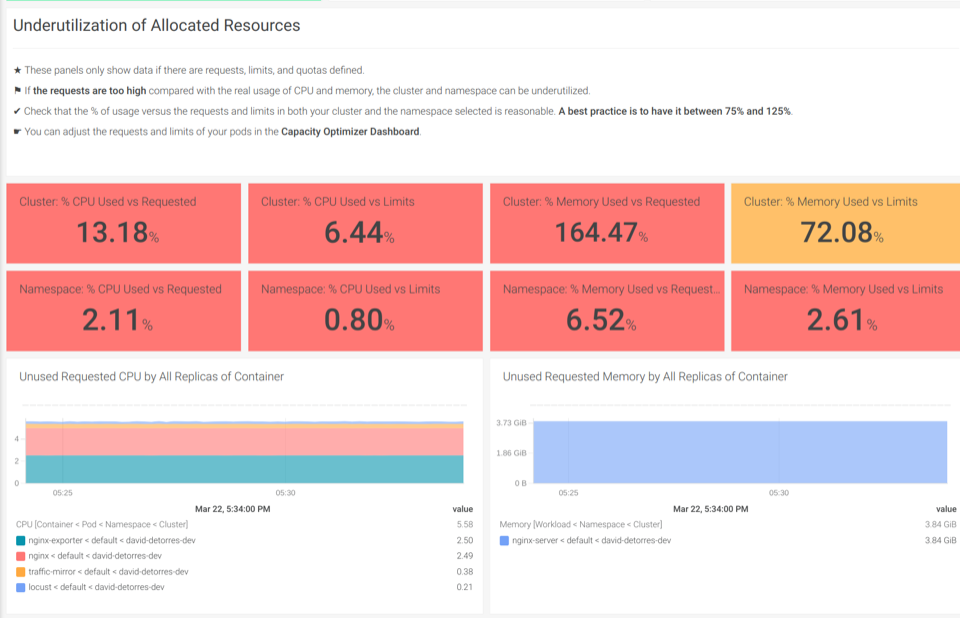
The Underutilization of Allocated Resources dashboards help you find if there are unused CPU or memory
Also, you can sign up for a free trial of Sysdig Monitor and try the out-of-the-box Kubernetes Dashboards.