What is a Kubernetes node?
SHARE:

Content
A Kubernetes node is each of the interconnected machines, physical or virtual, that works together as the Kubernetes cluster, and contains every single of your Kubernetes workloads as well as the control plane components.
From a more conceptual point of view, the nodes are the abstraction of the real environment in which the Kubernetes workloads are executed, such as Pods and its containers. Kubernetes nodes can be physical (hardware devices, servers, computers, embedded devices at the edge, etc.) or virtual machines (on a computer or the cloud).
On their own, nodes cannot do much. It is when they are coordinated as a Kubernetes cluster that they can distribute the workloads. For example, keeping everything running when a node fails, or taking into account several traits, like which nodes are too overloaded or what their hardware characteristics are.
Have you ever wondered what a Kubernetes node offers, what management options are available, or even how to add a new one in Kubernetes? Dig into these questions and more in this article.
Kubernetes node components
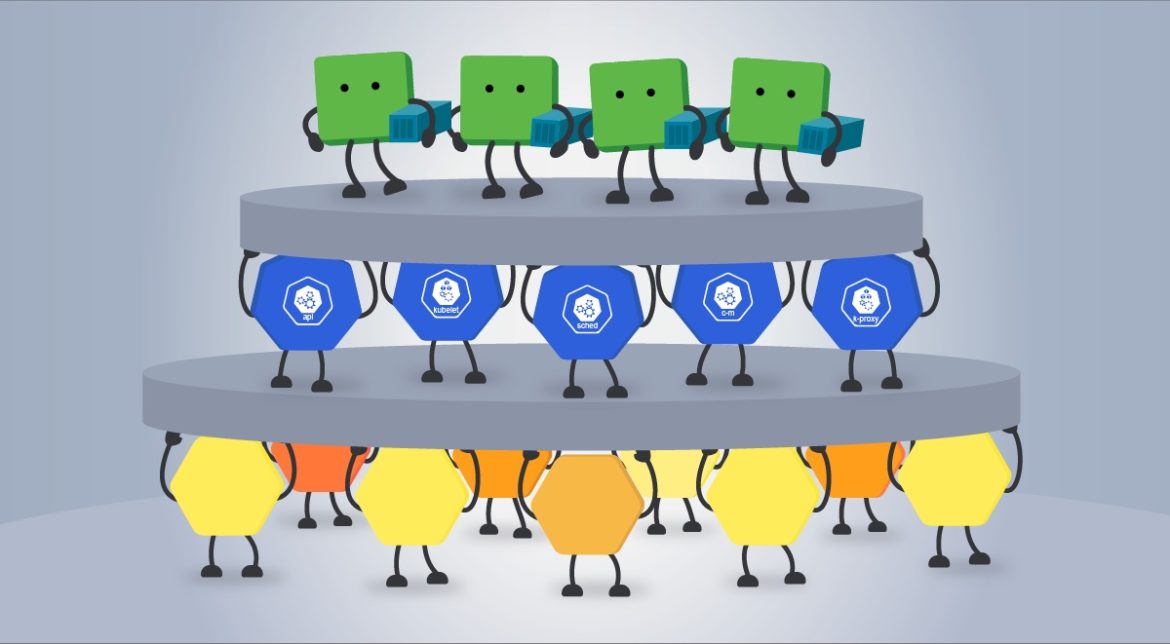
Every Kubernetes cluster is formed by hosts known as the worker nodes of Kubernetes. These are coordinated via the components of the control plane that runs on one or multiple dedicated nodes.
From this point of view, Kubernetes nodes can have two main roles:
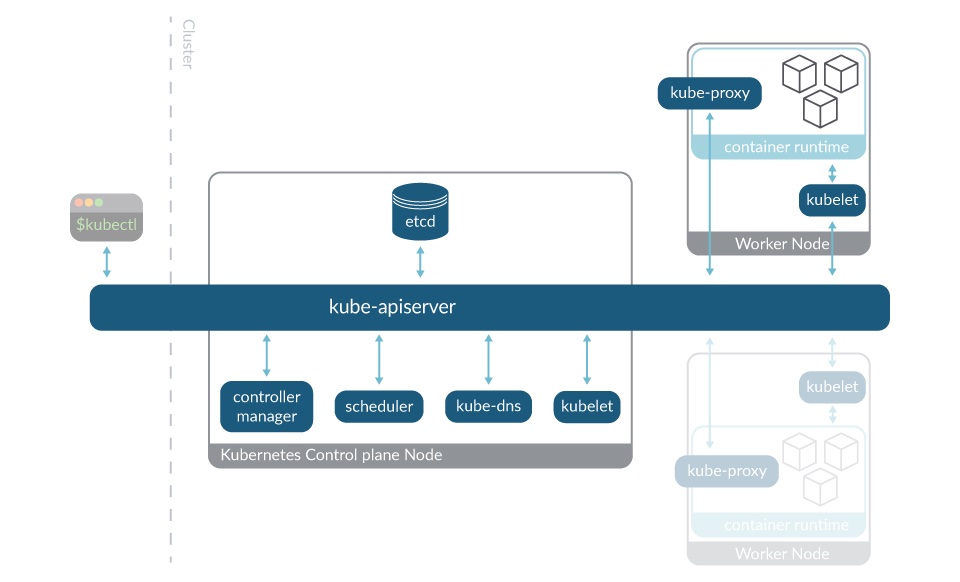
- Worker nodes: Primarily intended for running workloads (or user applications). It also runs some Kubernetes control plane components:
- kubelet: The Kubernetes agent that makes sure the workloads are running as expected, and registers new nodes to the API server. The kubelet runs on every node.
- kube-proxy: A network proxy that maintains the network rules on nodes for the network communication between the cluster components. The kube-proxy also runs on every node.
- Control plane node: the dedicated node(s) where most of the components of the control plane are executed:
- kube-apiserver: The main implementation of the Kubernetes API server, which is the primary mechanism for communication between the nodes and components of the cluster.
- etcd: The Kubernetes’ backing store. A consistent and highly-available key value store that holds all the cluster operational data.
- kube-controller-manager: Runs controller processes such as the node controller, the job controller, endpoints controller, and more.
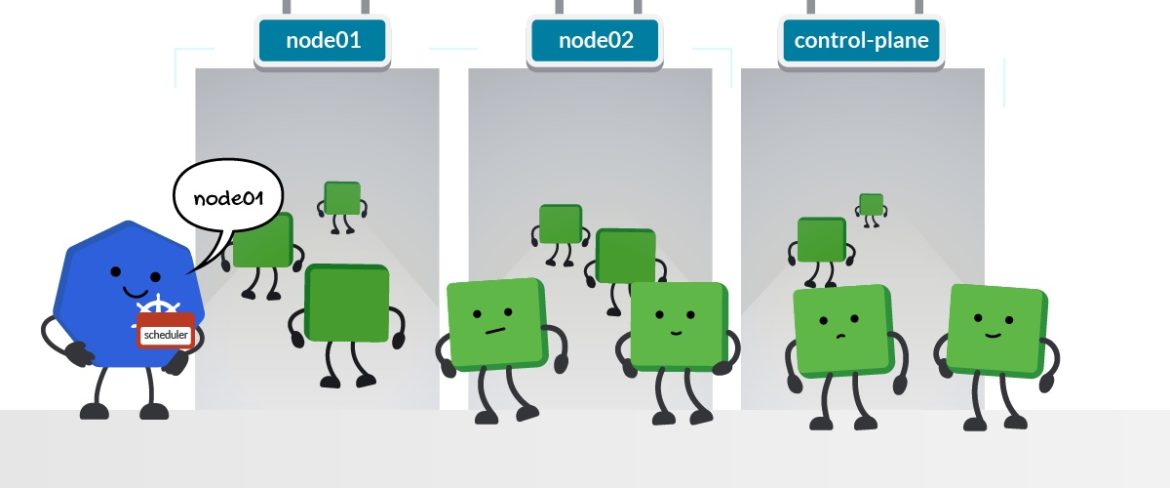
- kube-scheduler: Looks out for newly created Pods and selects the node on which they will run.
- kube-dns: Helps in Pod and Services DNS names definition and DNS names resolution to their containers’ IP addresses.
- kubelet (again): The Kubernetes agent that makes sure the workloads are running as expected, and registers new nodes to the apiserver. The kubelet runs on every node.
Control plane nodes were called master nodes until Kubernetes v1.24 [stable], in which the term master became legacy and was replaced by the term control plane. Be aware that the legacy naming is still used in some provisioning tools, such as kubeadm.
It is the job of the cluster admin to define the role of each node, depending on the needs of the environment. More roles can be used to differentiate specific nodes. If you want to go into more detail, you can drill into the good practices section.
You can also dig further into how to monitor the different components of the control plane with these dedicated articles in the Sysdig Blog:
- How to monitor Kubernetes apiserver
- How to monitor kubelet
- How to monitor etcd
- How to monitor controller-manager
- How to monitor kube-proxy
- How to monitor core-dns
How to interact with the Kubernetes nodes
You have the nodes and you have their cluster, but you need to work with them. That’s what kubectl is for. The kubectl command line tool, provided by Kubernetes, communicates with a Kubernetes cluster’s control plane through the Kubernetes API. Here is a list of the most commonly used kubectl commands:
Get nodes
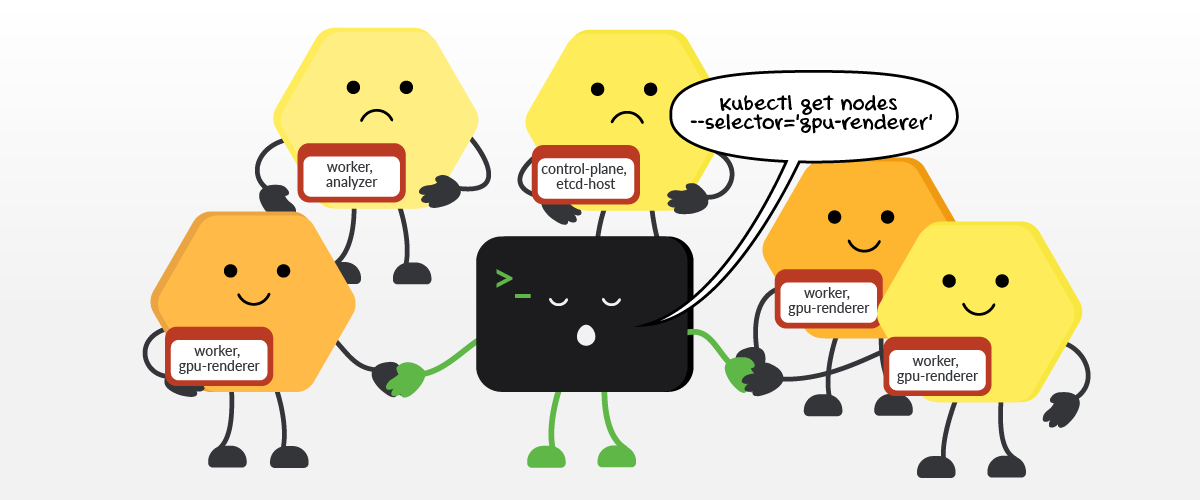
Nodes are happy because they were selected by the kubectl selector.
List every node on the default namespace:
kubectl get nodes [-o wide] [--all-namespaces] [--selector='[!]<label>[=<value>]']Code language: JavaScript (javascript)- -o wide: show additional information such as Internal-IP or External-IP, among others.
- –all-namespaces: shows every node from every namespace.
- [–selector=‘[!]<label>[=<value>]’]: list only those nodes that match the label and the value if it’s specified, or that does not match if ! is declared.
> kubectl get nodes
NAME     STATUS   ROLES           AGE   VERSION
node01   Ready    control-plane   11d   v1.24.0
node02   Ready    <none>          11d   v1.24.0
node03   Ready    <none>          11d   v1.24.0
> kubectl get nodes -o wide
NAME     STATUS   ROLES           AGE   VERSION   INTERNAL-IP   EXTERNAL-IP   OS-IMAGE             KERNEL-VERSION     CONTAINER-RUNTIME
node01   Ready    control-plane   11d   v1.24.0   172.30.1.2    <none>        Ubuntu 20.04.3 LTS   5.4.0-88-generic   containerd://1.5.9
node02   Ready    worker          11d   v1.24.0   172.30.2.2    <none>        Ubuntu 20.04.3 LTS   5.4.0-88-generic   containerd://1.5.9
node03   Ready    worker          11d   v1.24.0   172.30.3.2    <none>        Ubuntu 20.04.3 LTS   5.4.0-88-generic   containerd://1.5.9
> kubectl get node --selector='node-role.kubernetes.io/worker'
NAME     STATUS   ROLES    AGE   VERSION
node02   Ready    worker   11d   v1.24.0
node03   Ready    worker   11d   v1.24.0Code language: JavaScript (javascript)
Describe a node status
Prints detailed information about the node:
kubectl describe node [<node-name> | -l <label>[=<value>]Code language: JavaScript (javascript)Example:
> kubectl describe node node01
Name:               node01
Roles:              control-plane
Labels:             beta.kubernetes.io/arch=amd64
                    beta.kubernetes.io/os=linux
                    kubernetes.io/arch=amd64
                    kubernetes.io/hostname=node01
                    kubernetes.io/os=linux
                    node-role.kubernetes.io/control-plane=
                    node.kubernetes.io/exclude-from-external-load-balancers=
Annotations:        flannel.alpha.coreos.com/backend-data: {"VNI":1,"VtepMAC":"f2:6e:b4:e0:b1:1b"}
                    flannel.alpha.coreos.com/backend-type: vxlan
                    flannel.alpha.coreos.com/kube-subnet-manager: true
                    flannel.alpha.coreos.com/public-ip: 172.30.1.2
                    kubeadm.alpha.kubernetes.io/cri-socket: unix:///var/run/containerd/containerd.sock
                    node.alpha.kubernetes.io/ttl: 0
                    projectcalico.org/IPv4Address: 172.30.1.2/24
                    projectcalico.org/IPv4IPIPTunnelAddr: 192.168.0.1
                    volumes.kubernetes.io/controller-managed-attach-detach: true
CreationTimestamp:  Fri, 12 Aug 2022 15:08:41 +0000
Taints:             <none>
Unschedulable:      false
<...>Code language: JavaScript (javascript)
Create an interactive debugging session on a node
kubectl debug node/<node-name> -it --image=<image>Code language: JavaScript (javascript)Show nodes resource usage
Shows the CPU/Memory usage of all the nodes or a specific node:
kubectl top node [<node-name> | -l <label>=[<value>]]Code language: JavaScript (javascript)Mark node as unschedulable
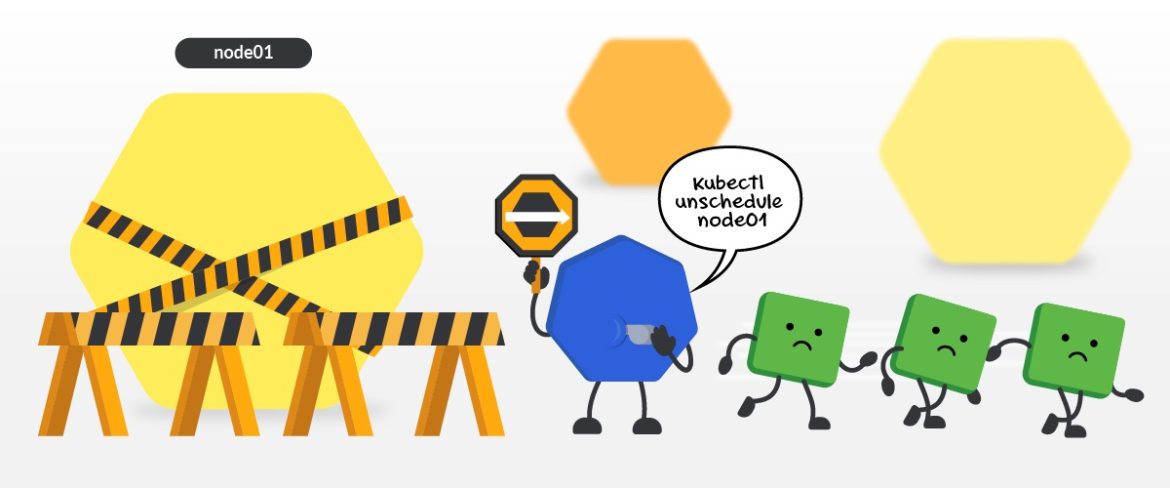
Marking a node as unschedulable, known as cordoning in Kubernetes’ terms, means that no new pod will be scheduled to execute on the node:
kubectl cordon <node-name>Code language: JavaScript (javascript)Example:
> kubectl cordon node01
node/node01 cordoned

> kubectl get nodes
NAME     STATUS                     ROLES           AGE   VERSION
node01   Ready,SchedulingDisabled   control-plane   11d   v1.24.0
node02   Ready                      worker          11d   v1.24.0
node03   Ready                      worker          11d   v1.24.0Code language: JavaScript (javascript)
Mark node as schedulable
Allows scheduling new pods to the node again:
kubectl uncordon <node-name>Code language: JavaScript (javascript)Example:
> kubectl uncordon node01
node/node01 uncordonedCode language: JavaScript (javascript)
Drain a node
Cordons the node and removes every running Pod from it:
kubectl drain <node-name> [--force] [--grace-period <sec>] [--ignore-daemonsets]Code language: JavaScript (javascript)- –force: continue even if there are pods that do not declare a controller.
- –grace-period <sec>: period in seconds given to each pod to end.
- –ignore-daemonsets: ignore DaemonSet pods when removing pods.
Example:
> kubectl drain node01 --ignore-daemonsets
node/node01 cordoned
WARNING: ignoring DaemonSet-managed Pods: kube-system/canal-ss6xh, kube-system/kube-proxy-g4smn
evicting pod kube-system/coredns-7f6d6547b-w2855
evicting pod default/example-pod-59d75644df-m65p2
pod/example-pod-59d75644df-m65p2 evicted
pod/coredns-7f6d6547b-w2855 evicted
node/node01 drainedCode language: JavaScript (javascript)
How to add a node to Kubernetes
The way of creating a new Kubernetes node will always vary depending on which distribution you use and where your real nodes are hosted. However, in almost all scenarios, these are the intuitive steps to add a new Kubernetes node:
- Set up a computer or a server (physical or virtual machine).
- Install kubelet on the node.
- Join the node to your cluster. The kubelet can self-register nodes to the control plane if you run it with the –register-node flag and specify the necessary information for it to find and join the control plane. Alternatively, you can use the kubeadm CLI tool to join a node to a cluster manually.
Amazon Elastic Kubernetes Service (EKS)
Cloud services offers its own solution that simplifies the process of adding new nodes. Amazon Elastic Kubernetes Service (EKS), for example, implements the eksctl CLI tool and changes the concept of clusters to group of sub-clusters, or the Nodegroups, to escalate the cluster itself:
- Create a new nodegroup:
eksctl create nodegroup --cluster=<clusterName> [--name=<nodegroupName>]Code language: JavaScript (javascript)- Scaling the nodegroup:
eksctl scale nodegroup --cluster=<clusterName> --nodes=<desiredCount> --name=<nodegroupName> [--nodes-min=<minSize>] [--nodes-max=<maxSize>]Code language: JavaScript (javascript)In this case, EKS will automatically create the nodes for you in the Amazon cloud and join them to the cluster specified via the —cluster flag. To learn more about how to escalate the cluster, visit the official Amazon EKS and eksctl documentation.
MicroK8s
Similarly, if you use MicroK8s, the lightweight Kubernetes distribution from Canonical, you can automatically create new nodes and join them to a running cluster with:
microk8s add-nodeCode language: JavaScript (javascript)This command will set up an additional node on the machine that is hosting your MicroK8s cluster and join it to that cluster.
Pod Scheduling
Kubernetes offers different mechanisms to determine how Pods can be allocated in the nodes of the cluster:
- Nodes labels and nodeSelector: Label your nodes with your own tags or with the Kubernetes default ones, and specify the nodes to schedule your Pods that match these labels with the nodeSelector option.
- Node name and nodeName selector: Give a name to your node and specify in the Pods specification to be scheduled in that node with the nodeName option.
- Node affinity and anti-affinity: Define more complex and expressive constraints on your nodes and specify how Pods will be scheduled on them with nodeAffinity, and the options requiredDuringSchedulingIgnoredDuringExecution and preferredDuringSchedulingIgnoredDuringExecution.
- Taints and tolerations: Define taints and declare how nodes repel the Pods, avoiding them to be scheduled on, and specify the tolerations in the Pods specification that will allow a certain set to be scheduled on these nodes.
Although the nodes are the environment where the pods are scheduled, it’s the Kubernetes scheduler that is in charge of this task.
Best practices for working with Kubernetes nodes
Run control plane components on dedicated nodes
The control plane is the one in charge of the cluster, and like any other process, its components need resources to run. You don’t want your components being unexecuted, do you?
Without the control plane, the cluster behavior is unpredictable and workloads are no longer managed in case of failure. While it might be acceptable to run control plane components and workloads on the same node, such as in a local learning environment, it is not the best practice.
Dedicating one or several nodes exclusively to the control plane gives you high availability, even in the case of failure, and avoids resource starvation with other workloads.
Continuing with this idea, in complex environments or where performance is paramount, not even all control plane components reside on the same node. For example, for very large clusters it is recommended the etcd be separate.
Use physical and virtual nodes strategically
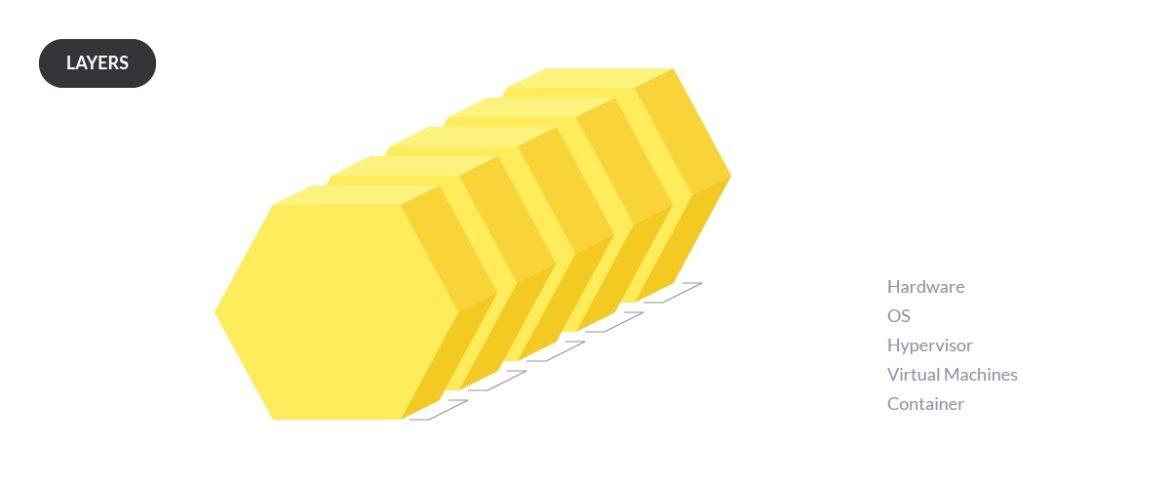
One question that arises when setting up a node is, “should I make it physical or virtual?.” In the beginning it was always better to use the bare-metal servers, but with the virtual machine optimization advances, these have been gaining popularity and even surpassing previous advantages.
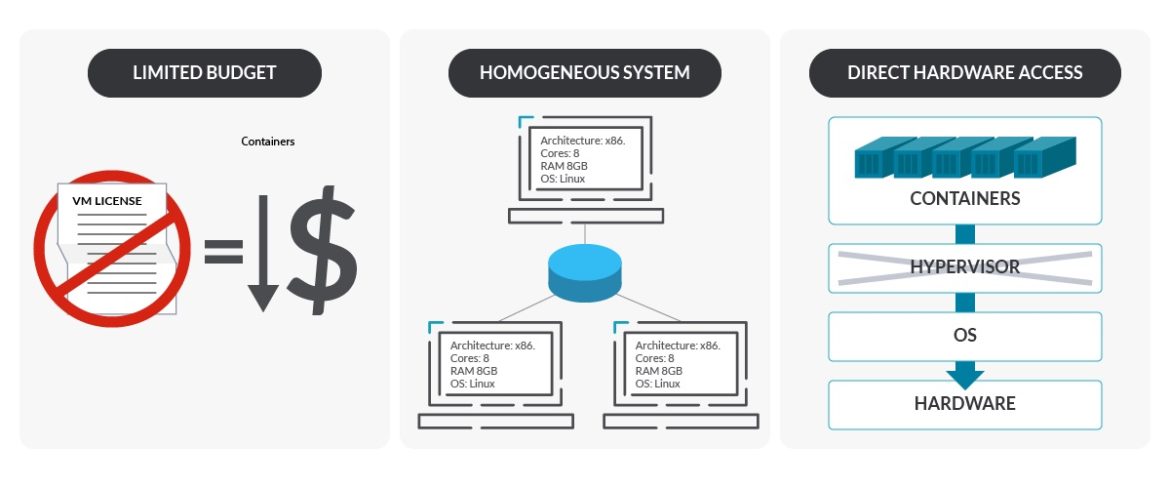
Choose physical machines if:
- You have a limited budget. VMs can be more expensive in terms of virtualization softwares, extra OSes (for the VMs on the physical machine), or licenses.
- You want to manage and run data centers at a huge scale with an homogeneous environment.
- You want more control of the workloads. Bare-metal provides more fine-grained control down to pod level.
- You want access to the underlying hardware without a virtualization layer in between. Not having the virtualization layer may simplify…
- Troubleshooting. Monitoring the bare-metal can be difficult, but having an extra layer can make it harder. However, with monitoring advancements, the differences have been losing.
- Configurations, such as network, or the execution of processes directly on hardware, such as storage read and writes.
Choose virtualization if:
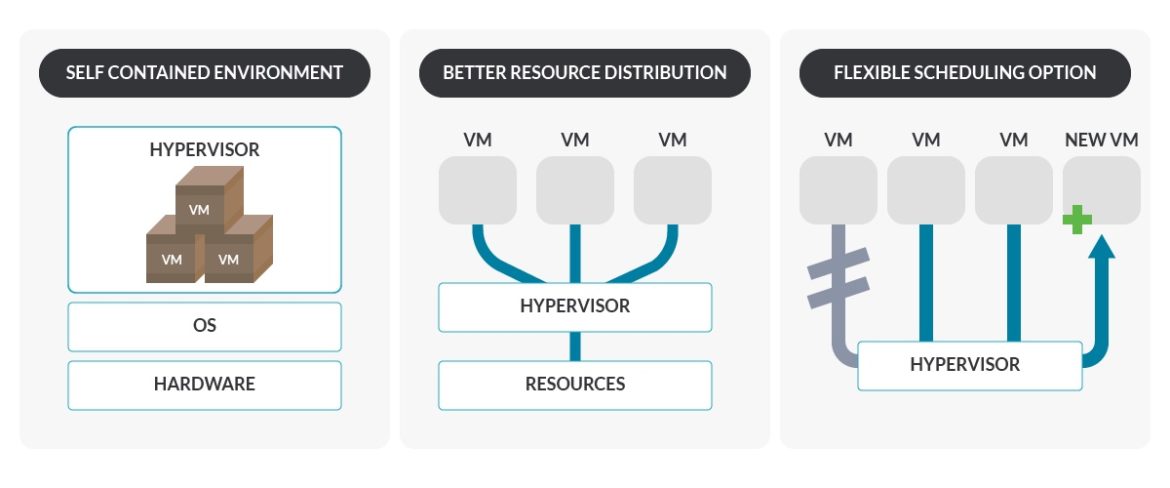
- You want a portable and self-contained environment. Hypervisors make a black box around the VMs that make them independent of the hardware where it is going to run.
- You want to test a new or updated package, driver, or a library critical vulnerability. If things go wrong, VMs allow you to revert the state of the machine with snapshots. The bare-metal OSes also provide this, but they are more difficult to work with.
- You want to set up a development environment quickly and easily. VMs are easier to build than bare-metal.
- You want to integrate an heterogeneous environment with different features.
- You want easier provisioning of nodes. Hypervisors allow you to create new nodes without difficulty, can have variable sizes, and also use VM templates (preinstalled LinuxOS) for default configurations.
- You want a better distribution of resources. VMs help make sharing resources with multiple services easier, a big advantage if you have a small number of servers and a high number of workloads. Hypervisors usually manage resources well across the environment.
- You want more flexible scaling options. Hypervisors allow you to move the VM between different physical nodes, and provide a quick and automatic start on another host of a VM in case of failure.
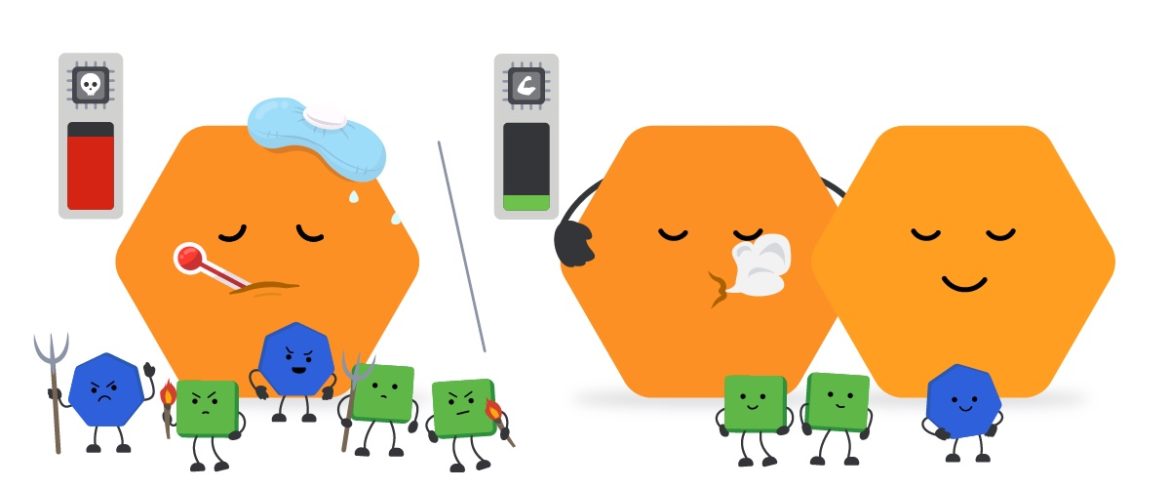
| 💡Keep in mind that it may be dangerous to have every VM in one host node. If a node dies in a bare-metal architecture, this might not be a big issue, but if the node with the VMs dies, all the system dies. |
Validate node setup
Once you have prepared all the nodes of your system, it is worth doing the pertinent validations to verify it is correctly set up. Here is where the node conformance test enters the scene.
The node conformance test is the containerized test framework that validates that your node meets the minimum requirements for Kubernetes before joining it to a Kubernetes cluster.
Use node autoscaling if it is available
Most cloud-based Kubernetes services have autoscaling features, which automatically create or remove nodes for you based on overall workload demand. Taking advantage of auto scaling is a useful way to ensure that you always have the right number of nodes available – and that you don’t waste money paying for nodes that you don’t need.
Unfortunately, autoscaling isn’t available out-of-the-box in Kubernetes environments that use on-prem or self-managed infrastructure, although you can create it yourself.
Reduce the attack surface of the nodes
In general, the less software that runs on each node the better. Consider using a minimalist Linux distribution instead of a full-blown one when provisioning nodes in order to avoid running extraneous processes, creating a security risk and waste of resources.
Can “this” be a Kubernetes node?
You may be thinking right now, “Okay, I understand Kubernetes nodes and their role in the cluster.” Let’s go a bit further, and think outside of the box. Have you considered that a node doesn’t need to be a beefy computer?
A VM, a personal computer, a raspberry, a refrigerator, even a Windows machine… All of those could be a Kubernetes node. Anything that you can think of that has a CPU, memory, a minimum operating system, and at least one way to communicate to other devices can be your node.
For example, it is rather common to set up a Kubernetes cluster using Raspberry PI’s running MicroK8s.
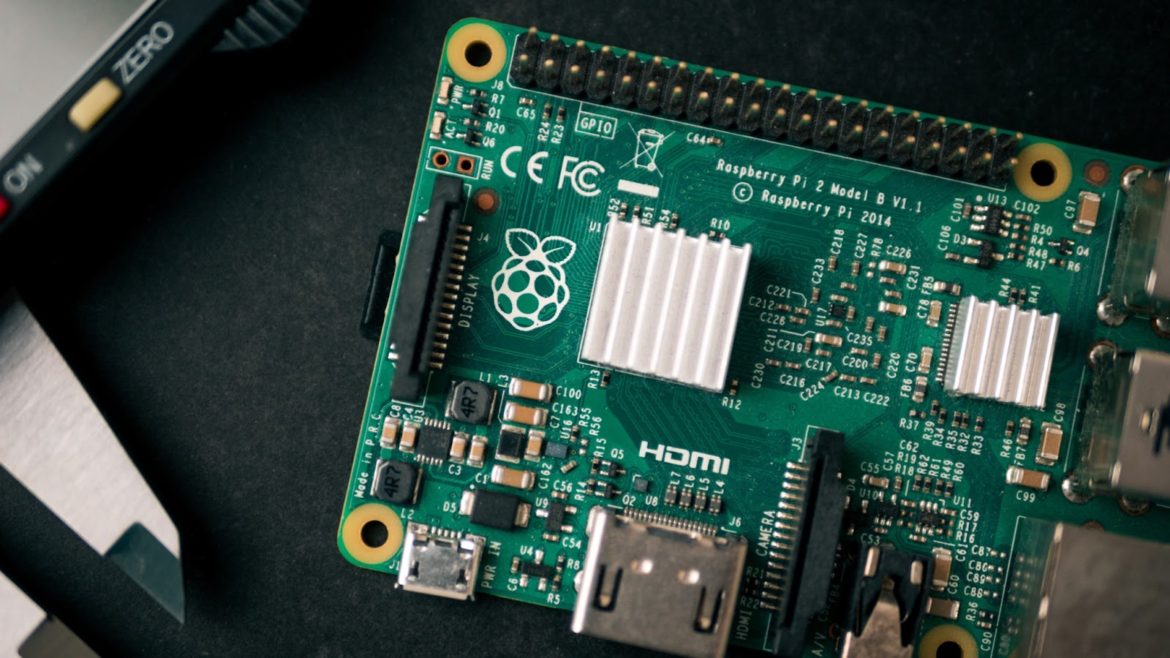
A person with MicroK8s, only two Raspberry Pis, 16.04 LTS Ubuntu desktop, and a microSD card per Pi flashed with an Ubuntu Server image can set up a whole Kubernetes cluster. There’s plenty of tutorials and official documentation in the Canonical Ubuntu tutorial for more digging.
Also, a controversial use of Kubernetes is its inclusion on military aircrafts, like the F-16.
BAn actual unexpected use of Kubernetes are devices on the edge: small computers with sensors, factory equipment, or similar. That’s where Kubernetes can help with software distribution, device configuration, and overall system reliability.
Conclusion
We’ve seen what a Kubernetes node offers, its management options, and even how to add a new node in Kubernetes.
On their own, the nodes cannot do much. It is when they are coordinated as a Kubernetes cluster that they can distribute your workloads.
As the environment where workloads are executed, Kubernetes nodes are one of the primary pillars.