


Falco Feeds extends the power of Falco by giving open source-focused companies access to expert-written rules that are continuously updated as new threats are discovered.

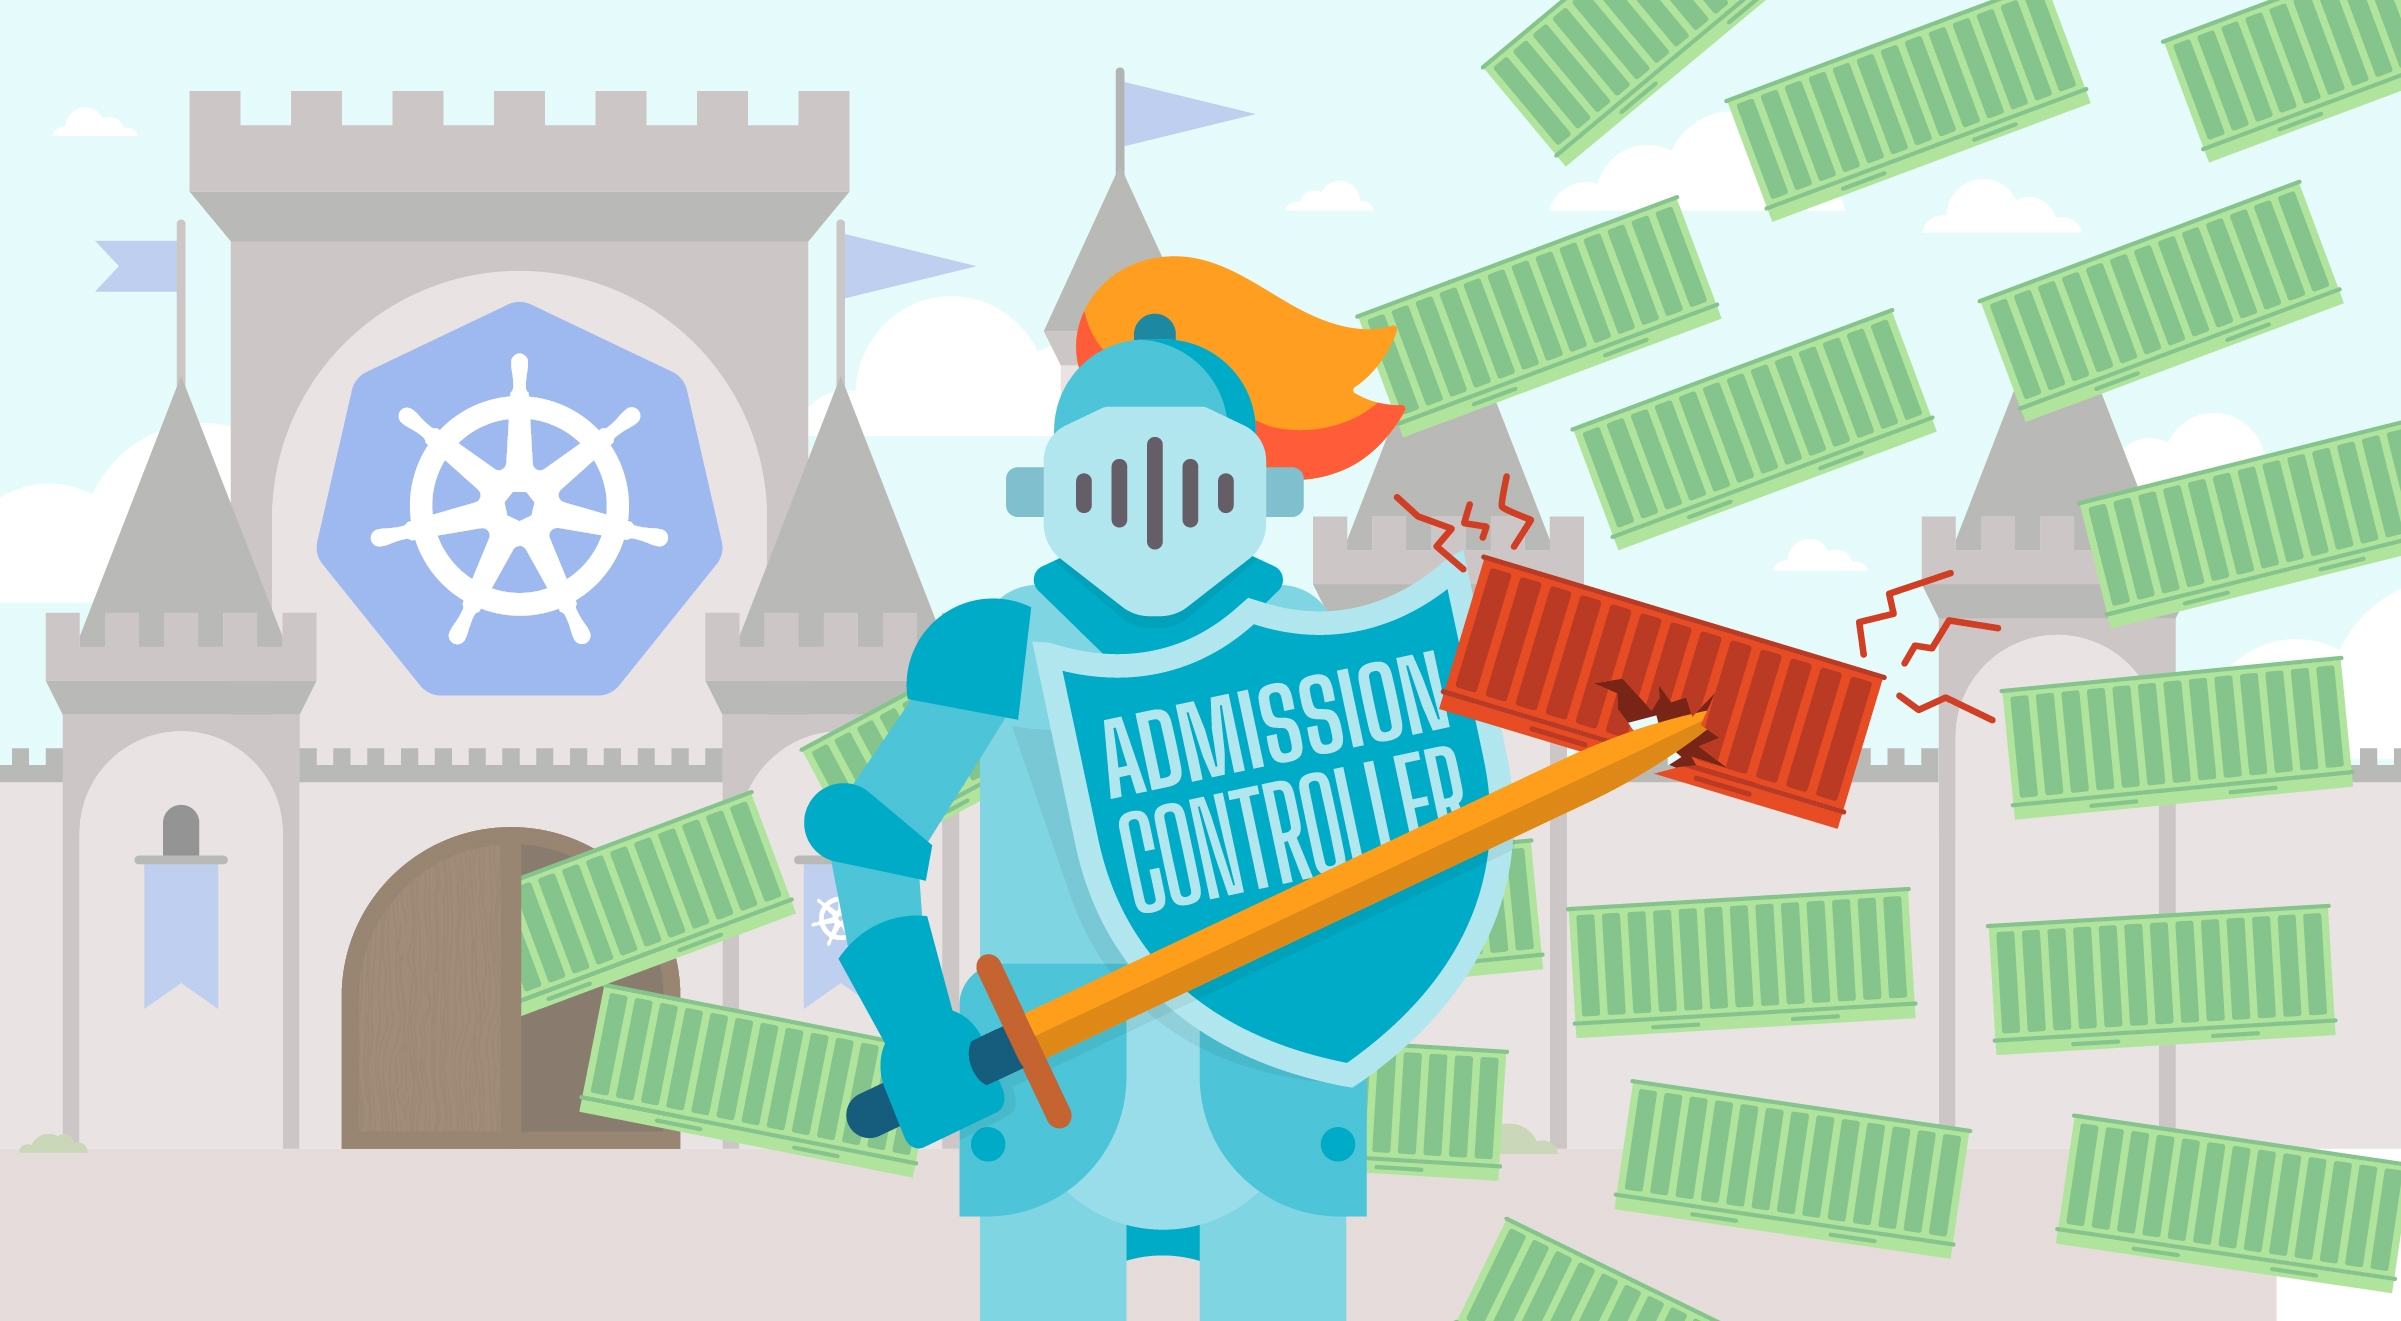
Admission controllers are a powerful Kubernetes-native feature that helps you define and customize what is allowed to run on your cluster.
As watchdogs, they can control what's going into your cluster. They can manage deployments requesting too many resources, enforce pod security standards, prevent insecure registries, and much more.
In this guide, we'll explain what admission controllers are, how they work, and provide examples of how to implement them in your Kubernetes cluster.
What are Admission Controllers?
Admission controllers are plugins that govern and enforce how the cluster is used. They intercept requests to the Kubernetes API server prior to the persistence of the object, but after the request is authenticated and authorized.
Admission controllers can be thought of as gatekeepers. Requests that don't meet the admission controller rules are rejected before they are processed by the API server.
Why Use Admission Controllers?
Admission controllers are used for many purposes:
1. Policy enforcement - Ensure that only certain types of resources can be created in your cluster.
2. Security - Prevent the deployment of insecure containers or pods.
3. Resource management - Ensure that resource requests are within acceptable limits.
4. Compliance - Ensure that resources comply with organizational policies and standards.
5. Audit logging - Log all API requests for compliance and auditing purposes.
6. Data validation - Ensure that data in Kubernetes objects is valid.
How do Admission Controllers Work?
Admission controllers are organized into two phases:
1. Mutating admission controllers modify objects as they come in. For example, they can set default values or inject sidecars.
2. Validating admission controllers validate that the object meets specific requirements. They do not modify the object.
Both phases can reject the request if the object doesn't meet the specified requirements.
List of Built-in Admission Controllers
Kubernetes comes with many built-in admission controllers. Some of the most commonly used are:
1. PodSecurityPolicy (Deprecated) - Control which pods can be deployed based on security settings. (Note: Deprecated in favor of Pod Security Standards)
2. ResourceQuota - Ensure that resource consumption does not exceed defined quotas.
3. LimitRanger - Ensure that resource requests and limits are within acceptable ranges.
4. ServiceAccount - Implement service account automation.
5. PersistentVolumeClaimProtection - Protect PersistentVolumeClaims from deletion if in use.
6. DenyEscalingExec - Deny exec and attach commands in a pod.
7. NetworkPolicy - Enforce network policies on pods.
8. DefaultStorageClass - Implement a default storage class for PersistentVolumeClaims without a storage class specified.
9. PodPriority - Implement pod priority and preemption.
10. ValidatingAdmissionWebhook - Call external APIs to determine if the request is valid.
11. MutatingAdmissionWebhook - Call external APIs to modify the request before it's processed.
How to Enable/Disable Admission Controllers
Admission controllers are enabled or disabled on the API server using the --enable-admission-plugins or --disable-admission-plugins flags.
By default, the following admission controllers are enabled:
- NamespaceLifecycle
- LimitRanger
- ServiceAccount
- DefaultStorageClass
- DefaultTolerationSeconds
- MutatingAdmissionWebhook
- ValidatingAdmissionWebhook
- ResourceQuota
- PodSecurityPolicy (deprecated)
To enable an additional admission controller, you need to add it to the API server configuration.
Creating Custom Admission Controllers with Webhooks
Creating a custom admission controller involves creating a webhook server that receives requests from the Kubernetes API server, validates or mutates the request, and responds back to the API server.
Here's a high-level overview of the process:
1. Create a webhook server - Your webhook server will receive requests from the Kubernetes API server and respond with a decision (allow or deny) and optionally mutate the request.
2. Create a ValidatingWebhookConfiguration or MutatingWebhookConfiguration - This tells Kubernetes which API requests should be sent to your webhook server.
3. Register the webhook with Kubernetes - Apply the configuration to your cluster.
4. Test your webhook - Create resources and verify that your webhook is working as expected.
Some popular frameworks for building admission webhook servers include:
1. Falco - An open-source runtime security tool that can be used as an admission controller.
2. Kyverno - A Kubernetes-native policy engine.
3. OPA/Gatekeeper - An open policy agent for policy-as-code.
4. Admission webhook frameworks - Various frameworks and libraries for building custom admission webhooks.
Best Practices for Admission Controllers
1. Start with built-in admission controllers - Use the built-in admission controllers before creating custom ones.
2. Test thoroughly - Always test your admission controller rules on a test cluster before applying them to production.
3. Avoid overly restrictive policies - Overly restrictive policies can impact developer productivity. Find the right balance between security and usability.
4. Monitor and log - Monitor admission controller rejections and log them for auditing and troubleshooting.
5. Document your policies - Document your admission controller policies so that developers understand what is allowed and what is not.
6. Use webhooks for complex policies - For complex policies that cannot be implemented with built-in admission controllers, use webhooks.
Summary
Admission controllers are a powerful mechanism for policy enforcement, security, and compliance in Kubernetes clusters. There are built-in admission controllers available, and for more advanced use cases, you can create custom admission controllers using webhooks.
Start with the built-in admission controllers and gradually introduce custom policies as your organization's requirements evolve. Always test your policies thoroughly and document them for your team.
For more insights about container and Kubernetes security, check out our learning center.