


Falco Feeds extends the power of Falco by giving open source-focused companies access to expert-written rules that are continuously updated as new threats are discovered.

What is Stratoshark?
Stratoshark — created by Wireshark founder Gerald Combs and Falco creator Loris Degioanni — brings Wireshark’s deep network visibility to the cloud through the Falco ecosystem. It combines Wireshark’s packet analysis with Falco’s runtime security for faster troubleshooting, confident incident response, and cloud-native flexibility. Users can analyze system calls, cloud logs, and network packets with the trusted precision Wireshark has offered for over 25 years.
In effect, if you know how to do investigations on packets with Wireshark, you now know how to do the same for system calls and cloud logs!
Why should I care?
Stratoshark is a different way of doing forensics and investigations in the cloud-native world, inspired by Wireshark. Wireshark provides a deep workflow to perform these types of tasks, and many security practitioners have trained on it and use it in their daily life. Stratoshark allows you to use that skillset against modern data sources and threats. Why let all those resources and training go to waste?
Stratoshark will always be free and open to use. We want the community to have access to the best tools to deal with what’s happening in the modern world.
Ok, you’ve got me — how do I do it?
Just head on over to https://stratoshark.org and click on the corresponding download link for your operating system. Just like Wireshark, Stratoshark runs on your local device.
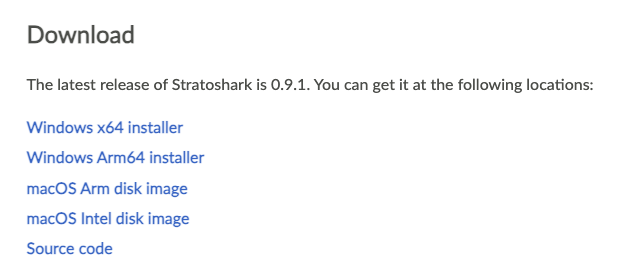
In my case, I’m going to grab the macOS Arm disk image. While that’s downloading, you’ll note there are some other resources on the Stratoshark home page that you might find useful, from videos to more advanced use cases.
On a Mac, just open the dmg then drag and drop Stratoshark to the Applications folder.
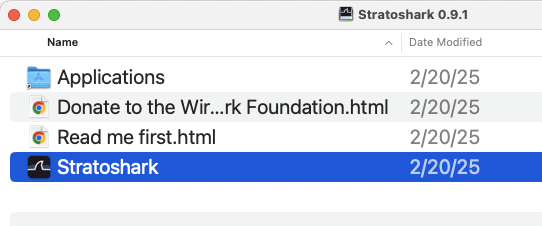
(On Windows you’ll get an executable installer — just follow the steps!)
Again, on a Mac, you’ll need to click “open” on your first time running Stratoshark to acknowledge you downloaded an application from the internet.
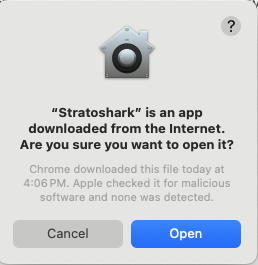
If you’re familiar with Wireshark, you should now have a window up that you feel right at home in!
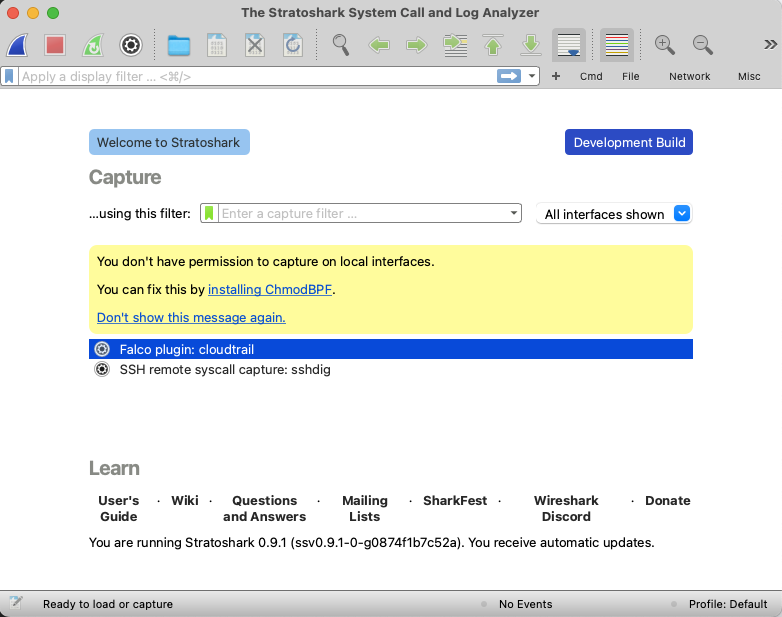
From here you can go a few different ways. We can install ChmodBPF to grab a capture from the local machine (maybe not the most practical use case, but fun to play with nonetheless), we can use the Falco plugin for cloudtrial to analyze S3 data, or we can initiate a remote capture using sshdig.
For today we’ll opt for the last option, but watch the Sysdig blog for future posts where we’ll go over performing an investigation on changes in an AWS environment via the cloudtrial plugin.
In order to use sshdig, we’ll need one more thing on the remote endpoint in order to capture the system calls. Just like Wireshark needs access to tcpdump to gather packets, sshdig will need something on the endpoint to capture the system calls. In this case, it uses opensource sysdig to do it.
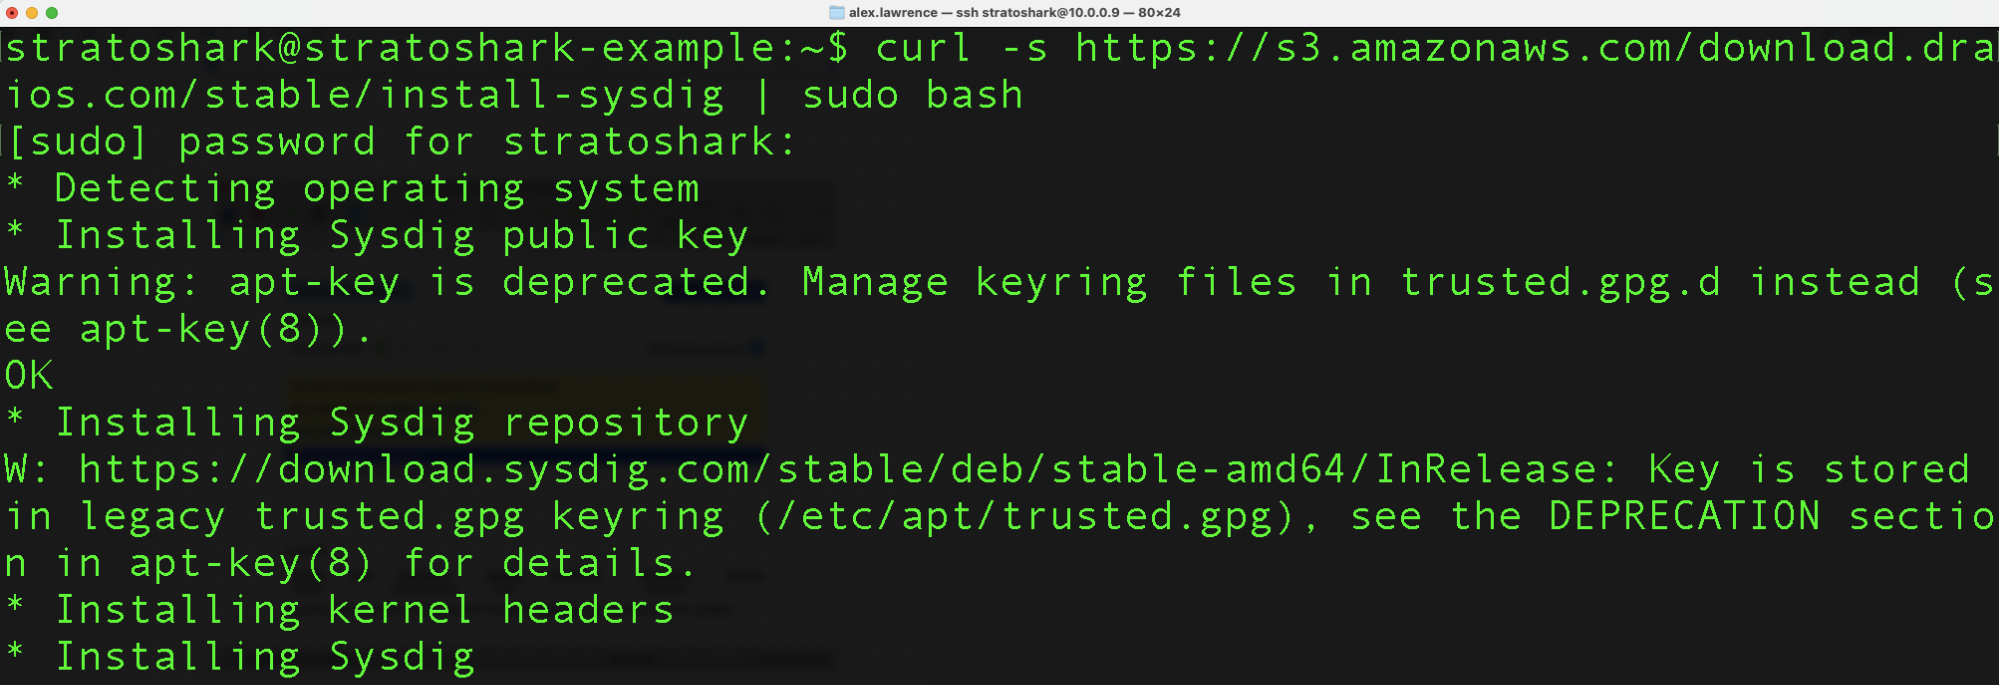
Thankfully, installing that is also quite simple, as we’re capturing from a Linux box. In order to install sysdig, just run the following command on the target host:
curl -s
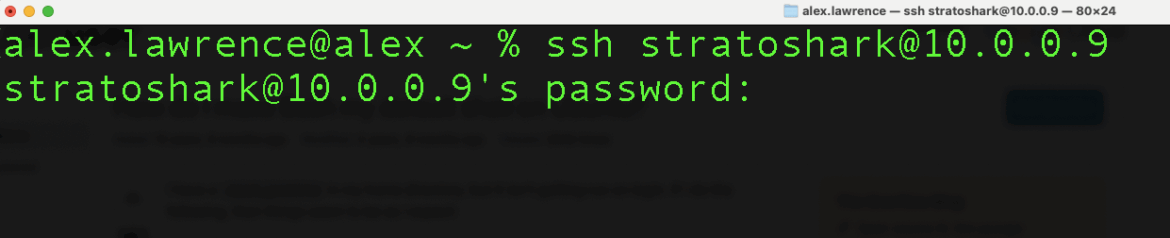
https://s3.amazonaws.com/download.draios.com/stable/install-sysdig | sudo bashGo ahead and login to your Linux target:
And install sysdig:
To verify sysdig is installed and running, open the curses interface by running
sudo csysdig
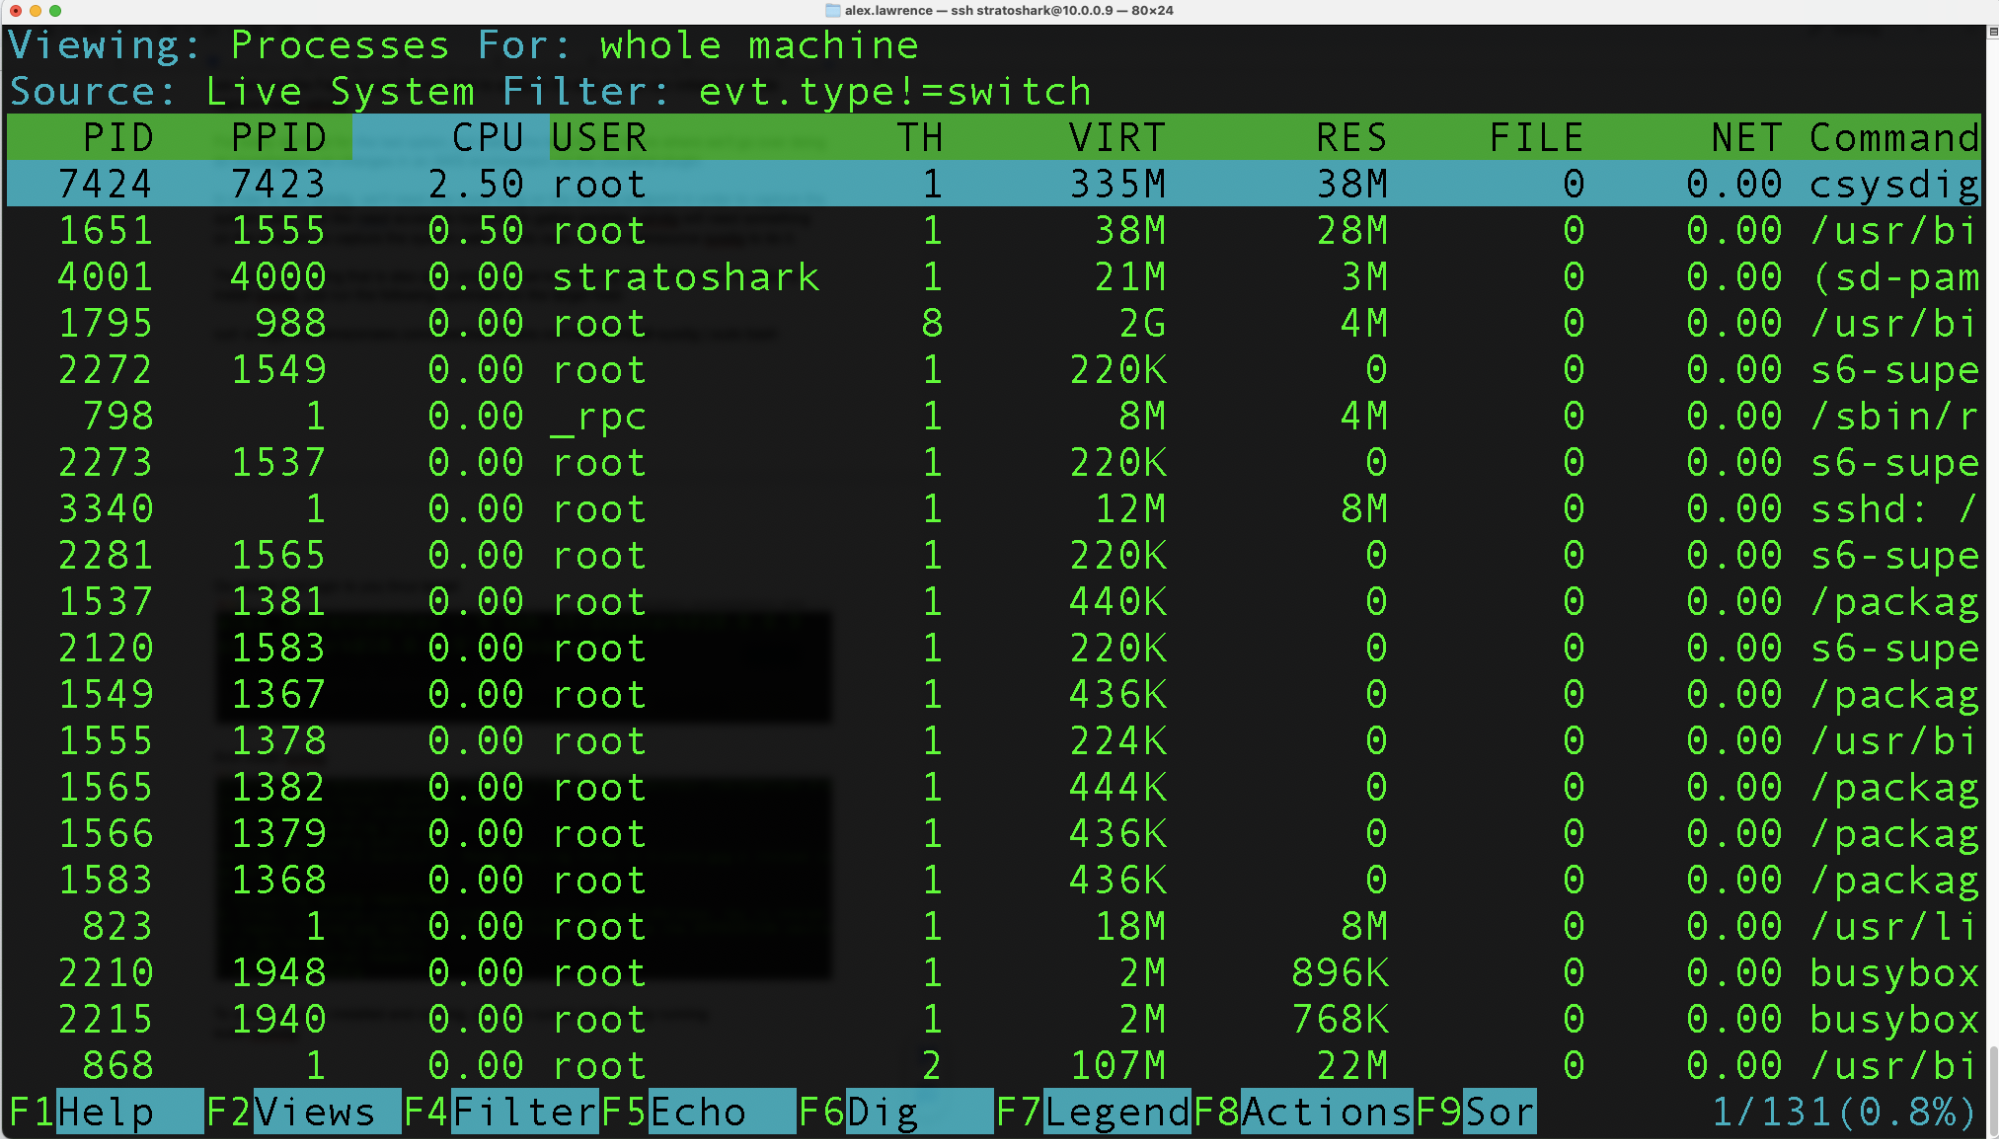
Congratulations! You’ve installed sysdig! To exit, just hit Q.
If you’d like to learn more about what you can do with it, check out this blog on how to use Sysdig OSS.
Now, let’s go back to our Stratoshark interface, double click on “SSH remote syscall capture: sshdig”, and fill out a couple of prompts.
Give it a remote address and port.
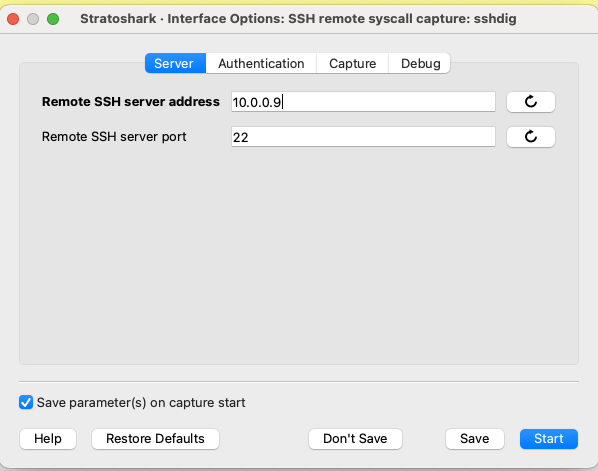
You’ll also need to provide a user with sudo access and a password. You’ll want this user set to not require a password to sudo. To enable this, you’ll need to add `USERNAME ALL=(ALL) NOPASSWD: ALL` to your sudoers file. In my case that’s at etcsudoers and I’ve appended this: stratoshark ALL=(ALL) NOPASSWD: ALL to the bottom of my file.
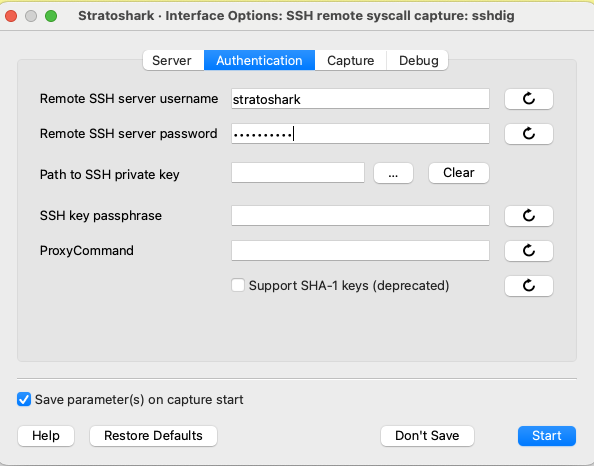
Make sure sysdig is selected and set sudo as the way to do privileged access. Make sure eBPF is checked.

Set a file for logging if you want.
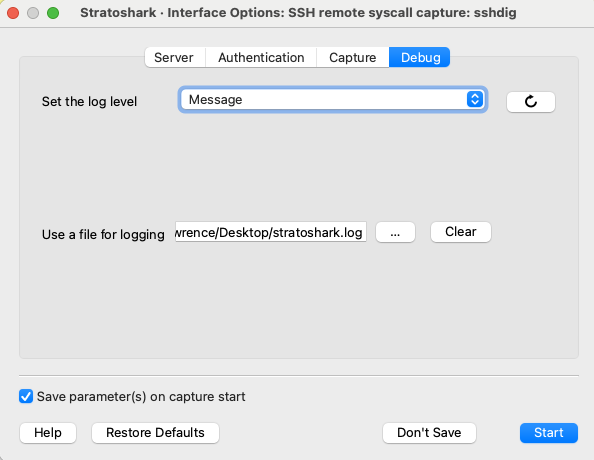
From here, just click on Start!
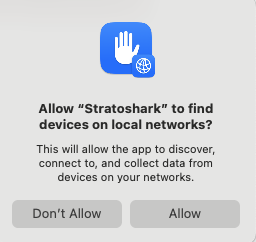
Important note: On a Mac, the first time you run Stratoshark, you’ll probably get this prompt blocking it from running. You’ll need to click Allow and restart Stratoshark. When you close and open Statoshark, you’ll need to put your password back in for the capture settings. To do that, just click on the little gear next to “SSH remote syscall capture: sshdig” and re-enter it.
A connection will be established, and now you’ll start seeing capture data!
Bonus round: investigate something!
What would a cryptominer look like in Stratoshark? Let’s find out! In this case, we’ll cause one to show up on purpose for illustration’s sake, but stealing cloud time to run cryptominers is not an uncommon event in modern attacks (SCARLETEEL is one such attack where a cryptominer is used).
To do this, we’ll deploy an ubuntu container, then pull down xmrig and run it, all while capturing system calls from the host with Stratoshark.
Step one: Deploy the container!
Note: If you haven’t installed docker on your Linux host, check out the directions here.
Deploy the latest ubuntu container and attach to it:
docker run -i --name ubuntu -t ubuntu:latest /bin/bash
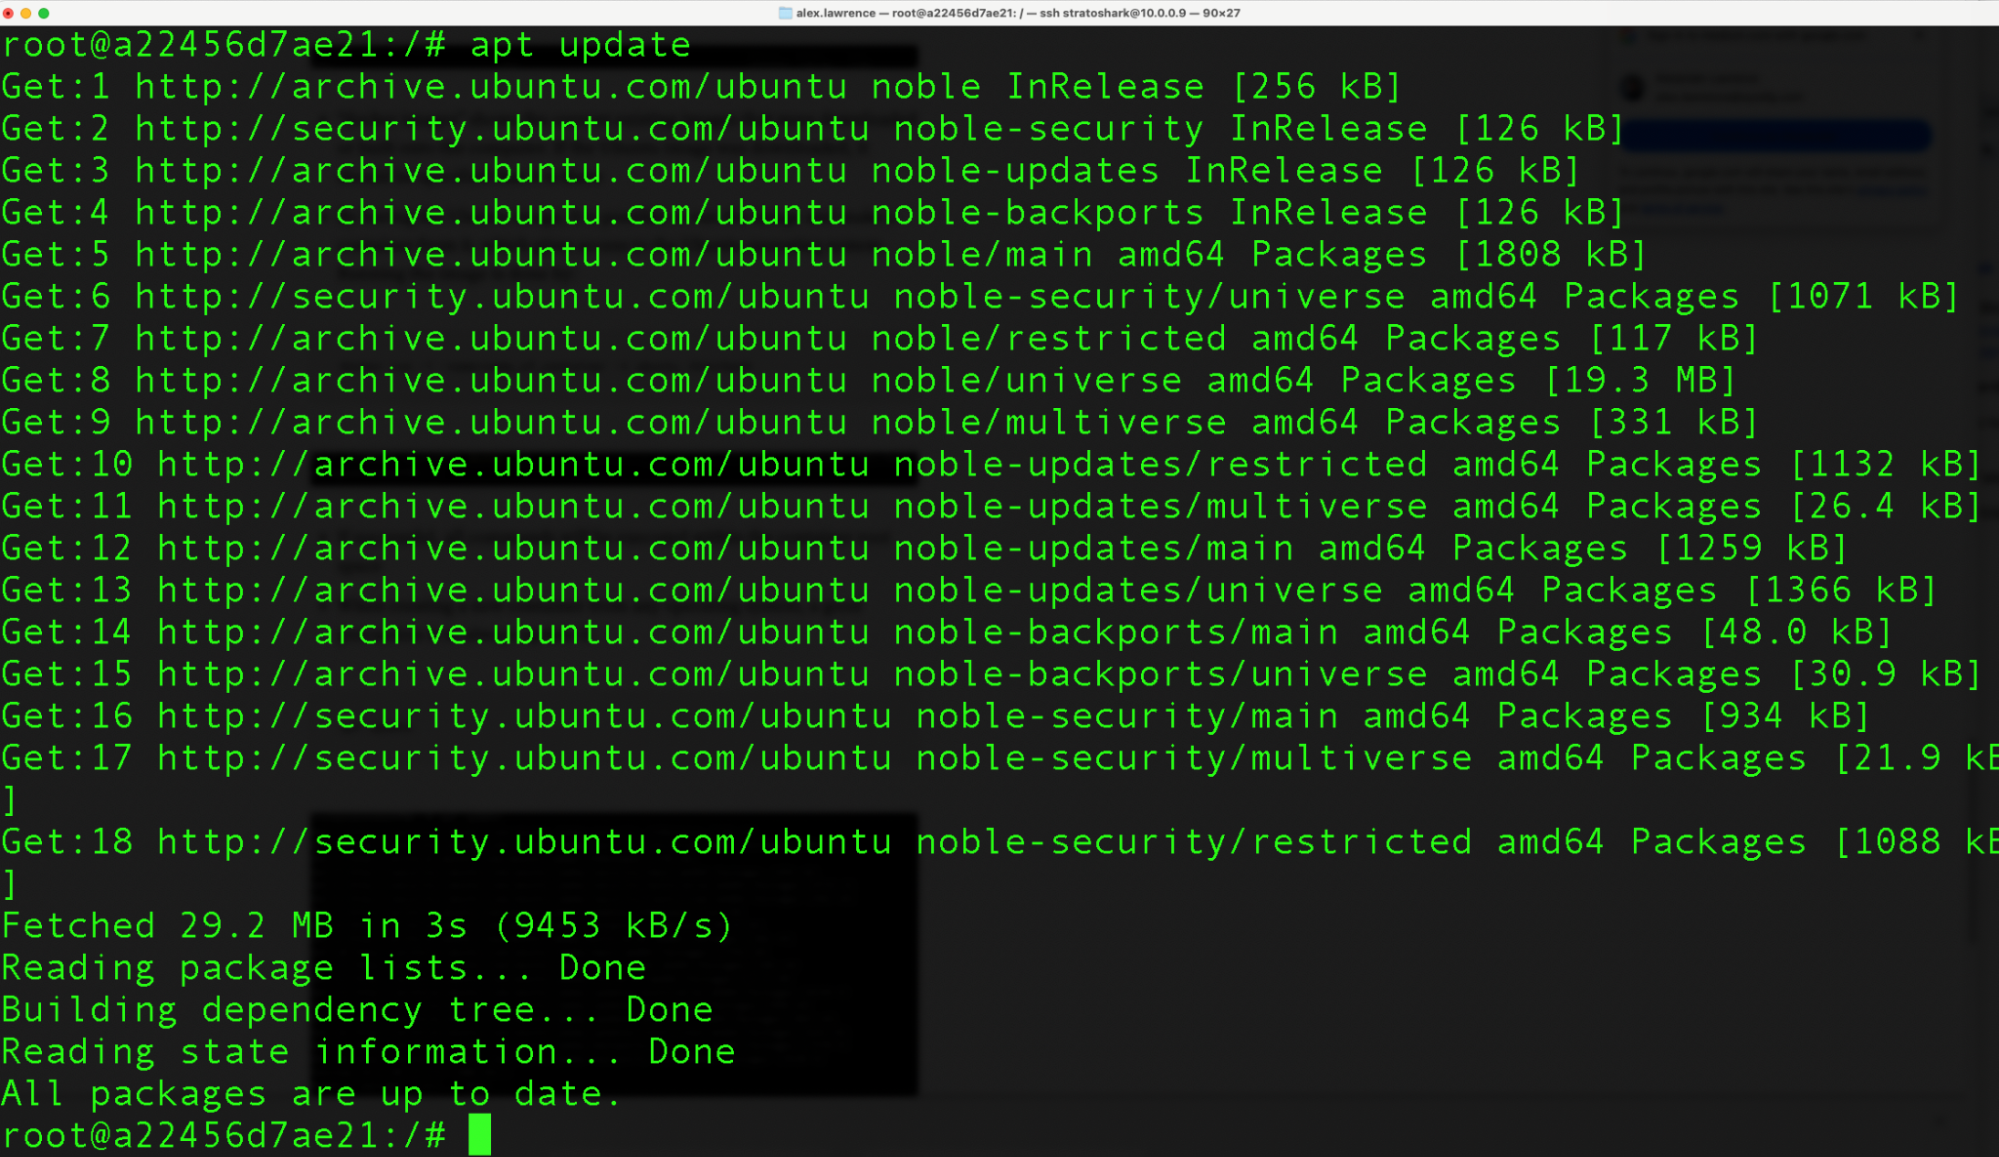
Let’s give it a quick update for fun just to show it’s working: run apt update.
Great! Lets install curl: apt install curl, then hit y to continue.

Now that we have curl in our container, we can go get xmrig.
curl -OL https://github.com/xmrig/xmrig/releases/download/v6.16.4/xmrig-6.16.4-linux-static-x64.tar.gz

Extract xmrig

Change to the xmrig directory:
cd xmrig-6.16.4
Now we’re ready to catch some cryptomining!
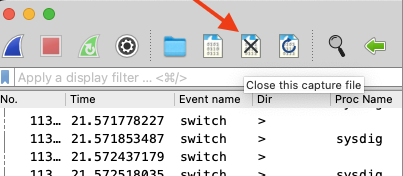
Go back to your Stratoshark interface. If you haven’t already, close the test capture that we did earlier.
Now let’s start a new capture. Click the little gear and verify you have your password and other items set, then click on start.
With the capture running, change back over to your terminal and run the following command from the xmrig directory we changed into earlier:
timeout 30s ./xmrig -o
stratum+tcp://xmr.pool.minergate.com:45700 -u lies@lies.lies -p x -t 2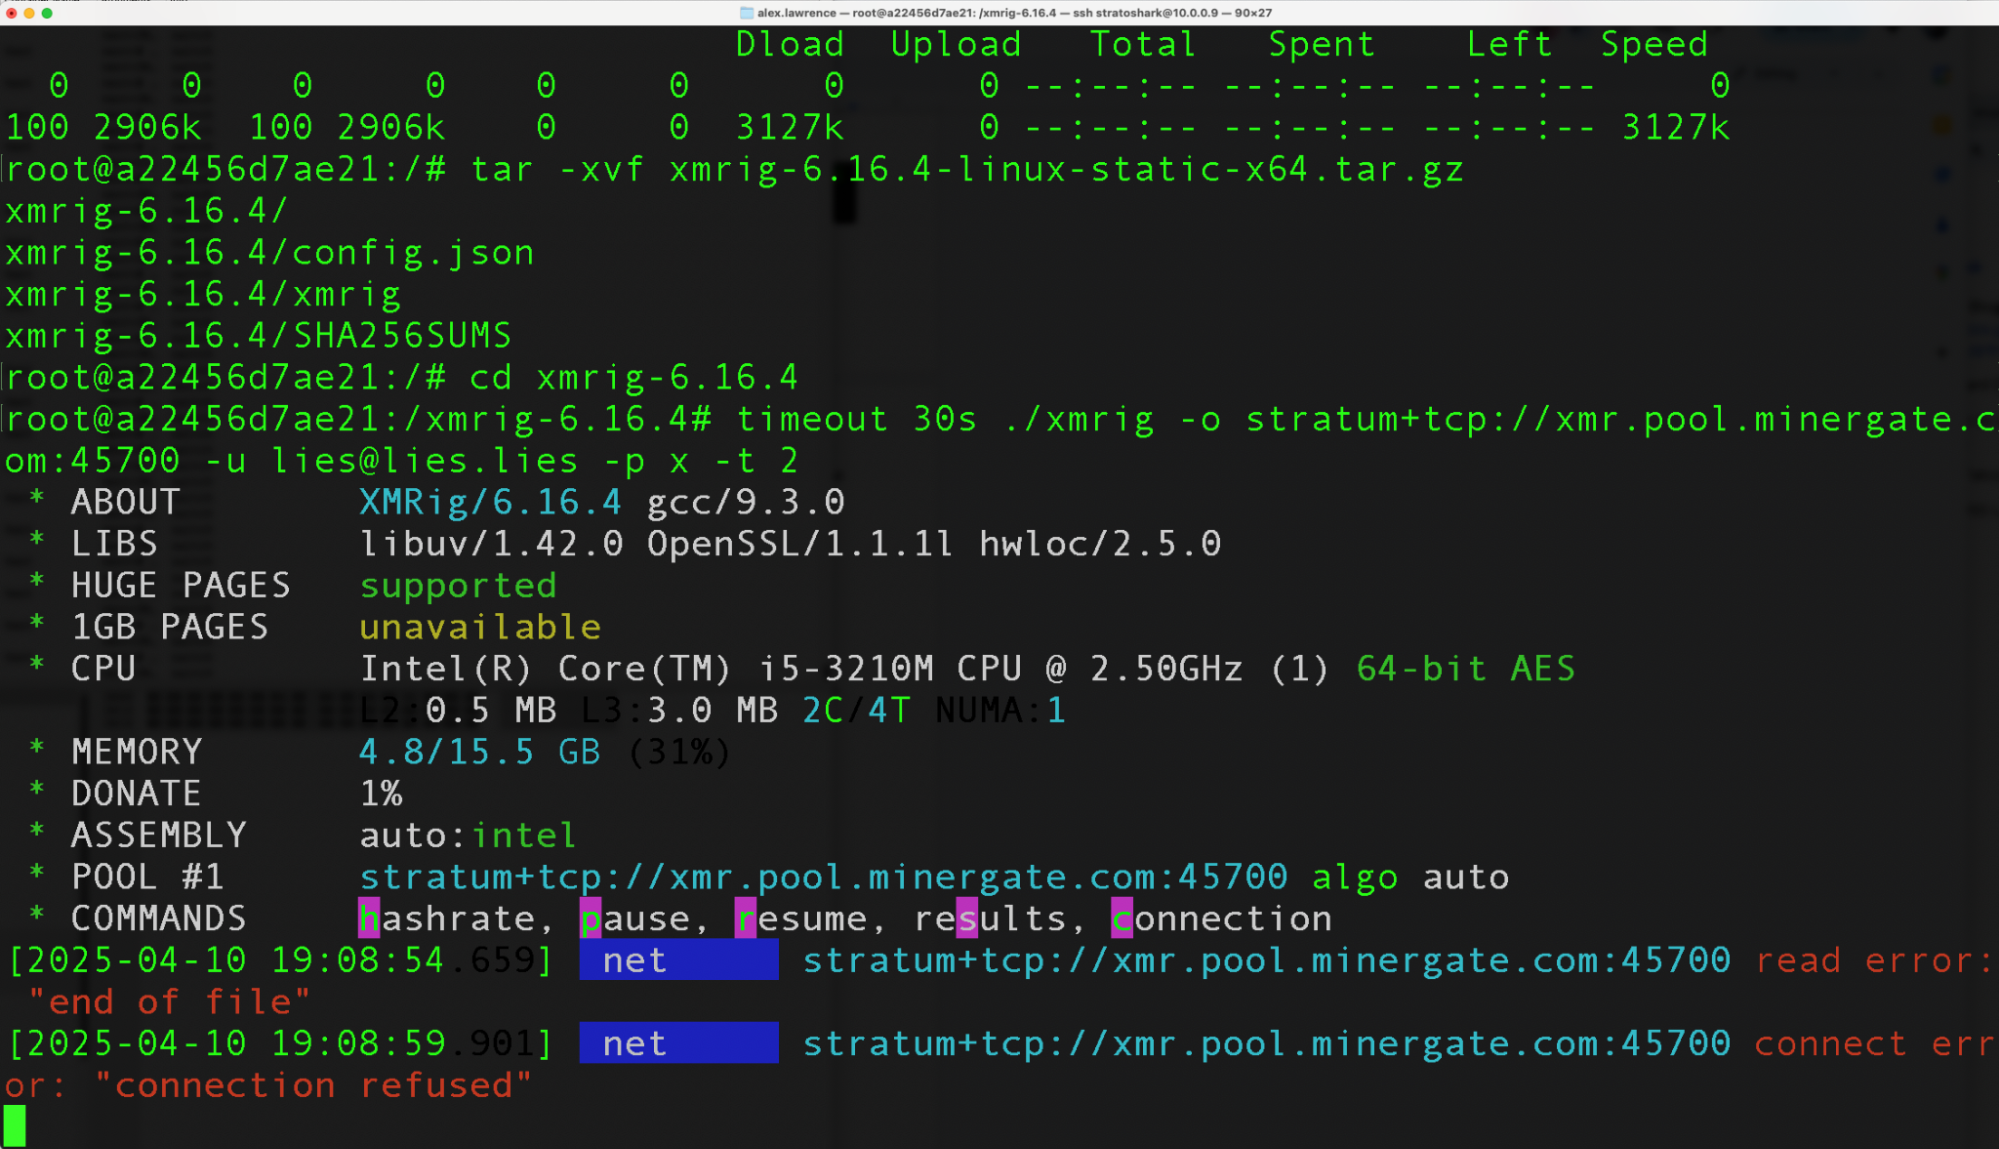
Wait until you get a connection error, connection refused (we’re not actually going to do some mining here, we’re just having a little fun!).
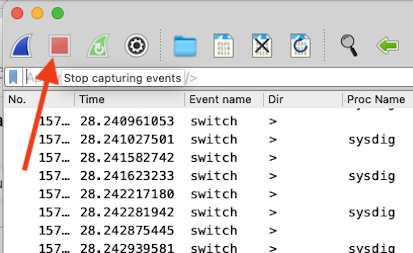
Go ahead and control-c out of your cryptominer, then switch to the Stratoshark window and hit stop.
Now we have a big capture file to work with where we know something malicious happened. Let’s use our first filter in Stratoshark and look for anything coming from the xmrig process. To do this, go to your filter bar at the top and type: proc.name == “xmrig”
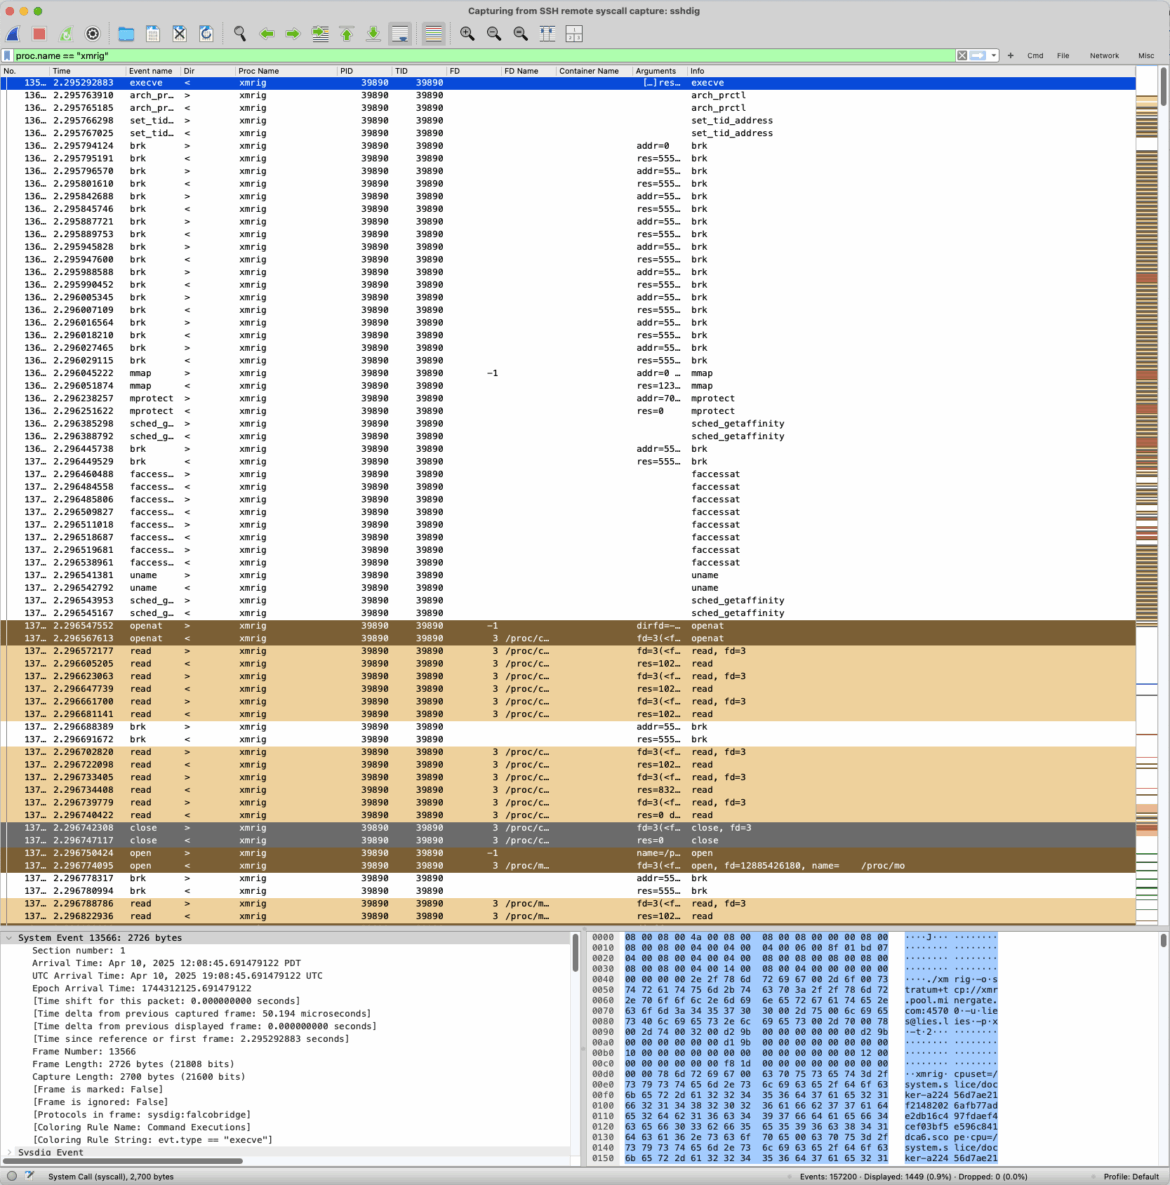
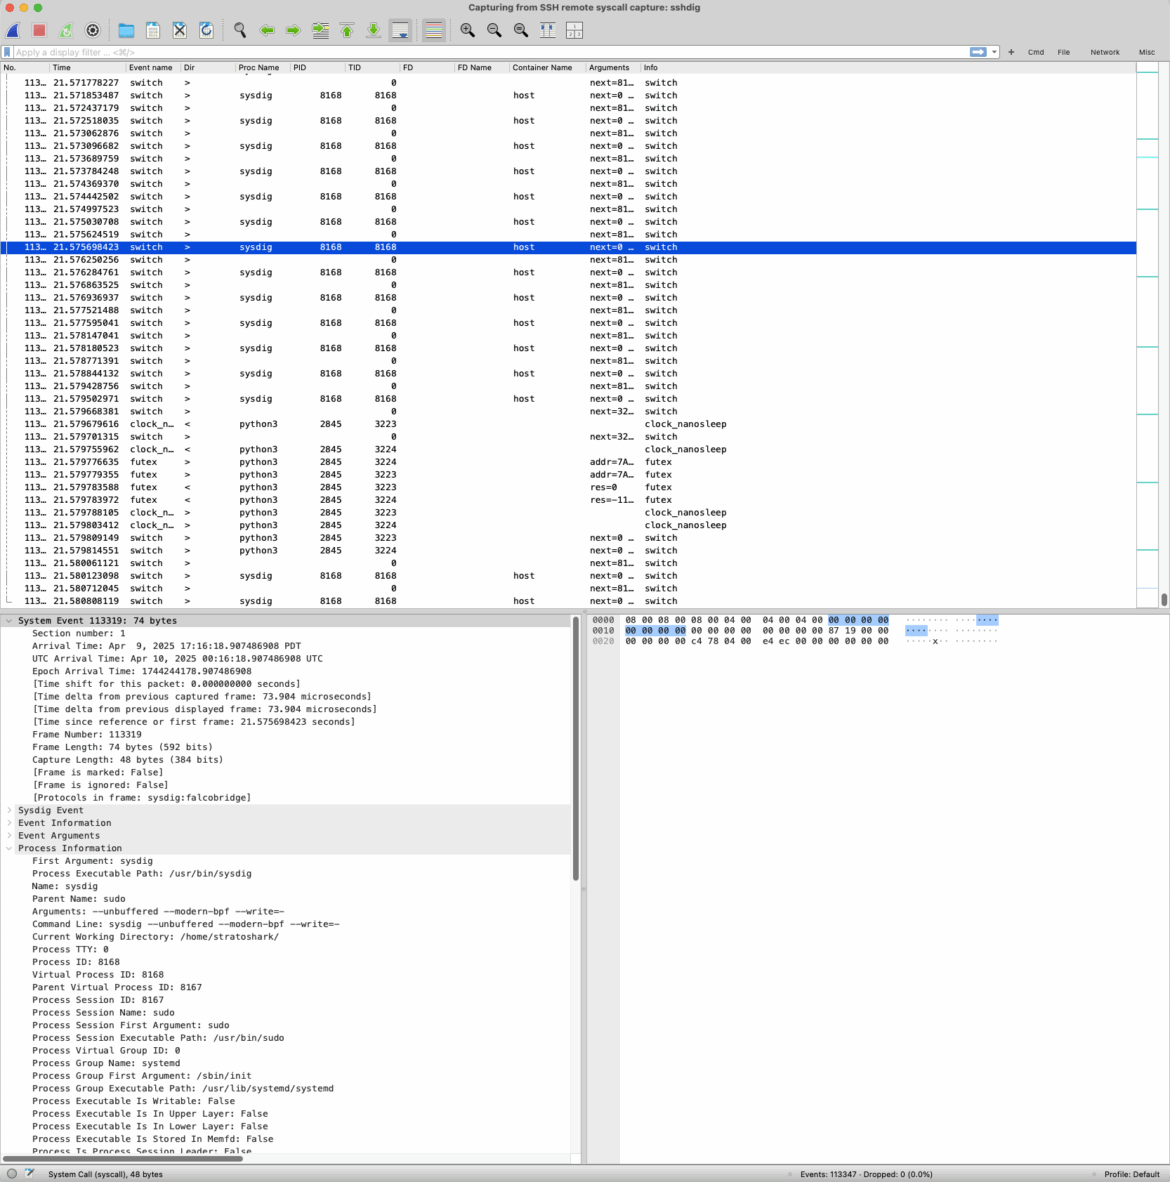
If you’re familiar with Wireshark, things will start looking pretty familiar now. You’ll see things like event names, color coding, and more At the very top you should see the execve event. This is when we executed xmrig.
If you highlight that first event, the real power of Stratoshark starts to become apparent. The amount of forensics data on a single process is staggering. Just like with a packet in Wireshark, you start to get significant amounts of data on the event itself.
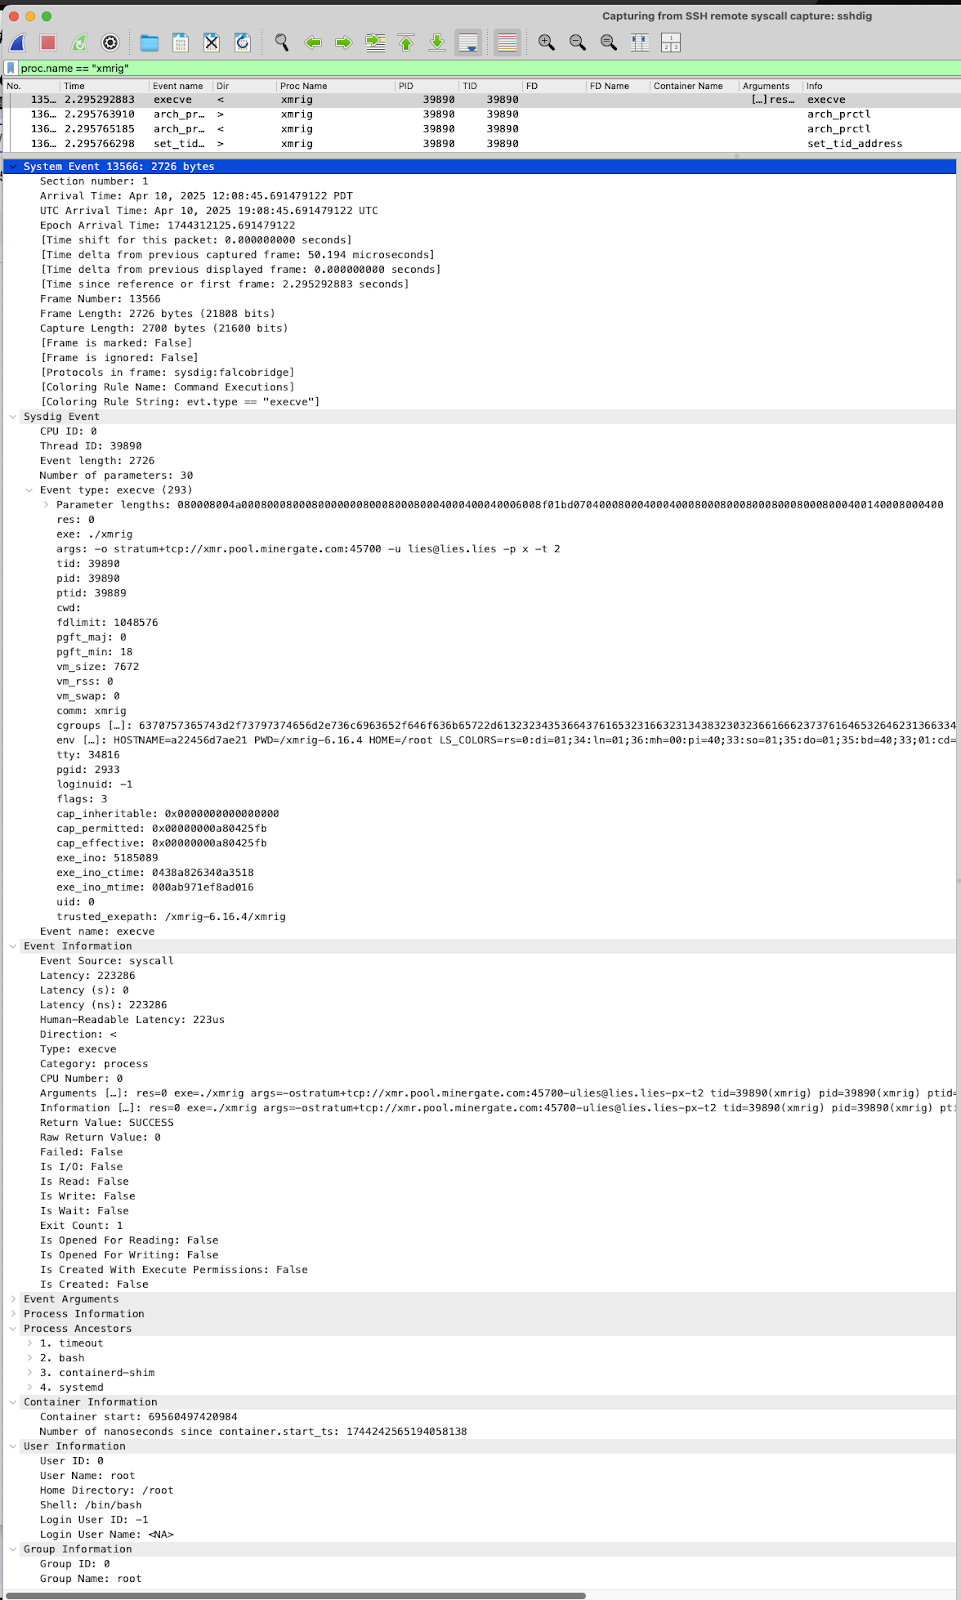
At the top you get some generic system event information on timing, length, and so on. The next section down is where things start to get really interesting. Under Sysdig Event, you’ll notice that you have detail, specifically in the parameter section. You’ll see the executable name, followed by all of the arguments passed to it, the PID, and other useful environment information, such as the container id under env HOSTNAME (in this case, a22456d7ae21).
If we keep going down, we can get details on events and processes, such as process ancestors. In our case, we ran with a 30-second timeout from bash inside of a container. We can see systemd spawned the contianerd runtime, which is where we ran bash, and ultimately the timeout command.
Further down we can use user information and shell data (in our case root and bash).
All of this data we’re looking at is from a single execve event from just starting the xmrig process in our container! As you can imagine, if you do suspect something malicious is going on within a host, and you need to find out more info and collect evidence, Stratoshark excels at this.
Feel free to play around with the capture and see what else you can glean from it. Keep an eye out for the next publication in the Stratoshark series, where we’ll go through using Stratoshark to pull cloudtrial data to investigate changes in cloud configuration.
If you’d like to learn more, talk more, or even contribute to Stratoshark, please join the Discord and start working with the community today!