


Falco Feeds extends the power of Falco by giving open source-focused companies access to expert-written rules that are continuously updated as new threats are discovered.

In the following tutorial we will show how to quickly boot an OpenShift Origin multinode deployment on Amazon AWS using CloudFormation and Ansible. We found the reference architecture had too many additional dependencies like Lambda, Route53, etc and we wanted to build a simple deployment procedure in a similar fashion to Heptio's Kubernetes AWS quick start.
Introduction
Kubernetes has had an spectacular market penetration in the container space during 2017. And OpenShift is just the icing on the cake. There are a ton of interesting features that both the OSS oriented (Origin) and commercial versions of OpenShift add on top of vanilla Kubernetes like CI/CD workflows, Docker images registry, etc.. you can read more about How Does OpenShift Extend Kubernetes in its own homepage.Here at Sysdig we regularly spin up and destroy test scenarios for demo environments, testing and development with different orchestration tools like Kubernetes, Docker Swarm, DC/OS Mesos and of course, OpenShift too.For us, the perfect environment requires to hit a complexity sweet spot: we need a few nodes for high-availability scenarios but at the same time we want something that we can frequently spawn in our cloud without worrying too much about complex deployment, resource use / cost, where anyone from our team can access.We looked at minishift, wonderful for developers, but would be too simple (single node and intended to be run locally in your laptop) for the case in point.Red Hat AWS Quick Start is really well designed, but too complex and with many additional dependencies for our purposes.So we needed something in the middle, that's why we created our own OpenShift deployment on AWS scripts, and we hope you can reuse some of it! How to deploy #OpenShift cluster on #AWS using CloudFormation and #Ansible Click to tweet
Using CloudFormation to create the OpenShift infrastructure on AWS
Manually creating your AWS resources doesn't work for disposable environments, seriously, don't do it, it is:
- Prone to human error
- Tedious, repetitive task
- It's extremely easy to forget to delete some of the cloud entities, littering your cloud account
So we wrote this (really simple) CloudFormation template for OpenShift that will create:
- 1 CentOS-based master node
- 2 CentOS-based worker or minion nodes
- A separate VPC and subnets to isolate our environment from any other entities (and also making the scenario clean-up easy and safe)
- Security groups that will open the following public ports:
- 22 SSH for all host
- 8443 for the OpenShift Web console, master node
- 10250 master proxy to node hosts, master node
You can read more about OpenShift standard service ports here.Two improvements could be implemented on this template:
- Instead of defining two identical nodes / volumes / etc use LaunchConfiguration and Auto Scaling group, so you just define the entities once and can spawn any number of master / worker nodes using parameters. We didn't want our clusters to grow automatically, so we didn't proceed with this.
- Deploying a bastion host to tunnel SSH connections, like the Heptio's Kubernetes QuickStart.
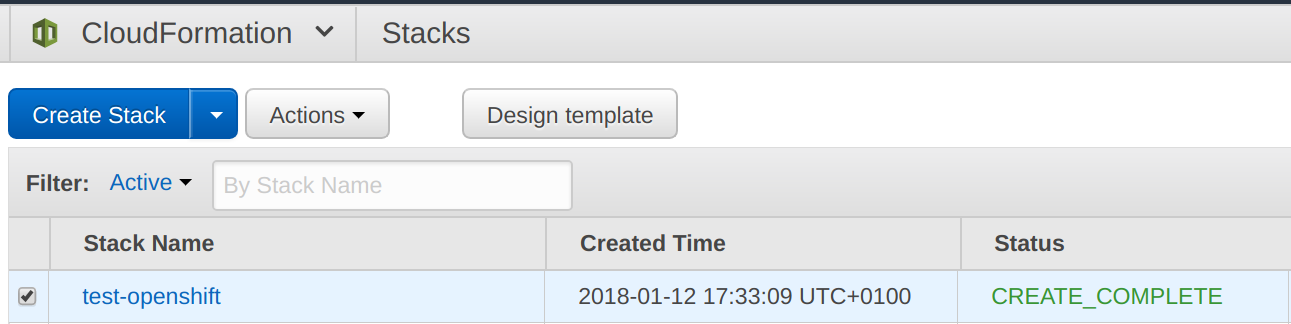
Once you have uploaded the template file to your S3 bucket and noted down the file link URL, you can launch it using the AWS cli:aws cloudformation create-stack After 10-15 minutes, your deployment should be ready in "CREATE_COMPLETE" state:
--region
--stack-name
--template-url "https://"
--parameters
ParameterKey=AvailabilityZone,ParameterValue=
ParameterKey=KeyName,ParameterValue=
--capabilities=CAPABILITY_IAM
Installing OpenShift Origin on CentOS
Now we are ready to install OpenShift. We decided to install the community version, known as "Origin" as these clusters are intended for non production usage. The project provides a set of Ansible playbooks to automate installation: openshift-ansible and we will be using the 3.6 branch in this example.First, you need to create an Ansible hosts inventory file, the version we used looks like this:
File: AnsibleOpenshiftSysdighost
--------------------------------

[OSEv3:children]
masters
etcd
nodes

[OSEv3:vars]
ansible_ssh_user=centos
ansible_sudo=true
ansible_become=true

deployment_type=origin
os_sdn_network_plugin_name='redhat/openshift-ovs-multitenant'
openshift_install_examples=true

openshift_docker_options='--selinux-enabled --insecure-registry 172.30.0.0/16'
openshift_master_identity_providers=[{'name': 'htpasswd_auth', 'login': 'true', 'challenge': 'true', 'kind': 'HTPasswdPasswordIdentityProvider', 'filename': '/etc/openshift/openshift-passwd'}]
openshift_disable_check=disk_availability,docker_storage,memory_availability

[masters]
master-host-name

[etcd]
master-host-name

[nodes]
master-host-name openshift_node_labels="{'region':'infra','zone':'east'}" openshift_schedulable=true"
worker1-host-name openshift_node_labels="{'region': 'primary', 'zone': 'east'}"
worker2-host-name openshift_node_labels="{'region': 'primary', 'zone': 'east'}"
- The master node is marked as region infra and also as schedulable, this way we can run some special pods (like the router and Docker registry) without needing a dedicated infrastructure host.
- Httpasswd auth is enabled using the file /etc/openshift/openshift-passwd in order to require authentication to access the OpenShift Web Console.
- In this playbook we disable several pre-flight checks with the openshift_disable_check config key, this way we can use modest AWS instaces (default requisites are actually pretty high for non-production purposes).
Reading the Advanced install documentation you will find a wealth of config keys and parameters that you can use to customize your own deployment.Before running the openshift-ansible playbook, we'll do some pre-configuration of the base CentOS hosts using Ansible too:
File: prepare.yml
-----------------

---
- hosts: nodes
  gather_facts: no
  pre_tasks:
    - name: 'install python2'
      raw: sudo yum install -y python

  tasks:

    - name: upgrade packages
      yum: state=latest name={{ item }}
      with_items:
        - docker
        - NetworkManager

    - name: enable network-manager
      shell: systemctl enable NetworkManager && systemctl start NetworkManager

    - name: docker storage conf file
      copy:
        content: "DEVS=/dev/xvdbnVG=docker-vgn"
        dest: /etc/sysconfig/docker-storage-setup

    - name: docker-storage-setup
      shell: docker-storage-setup

    - name: enable docker
shell: systemctl enable docker && systemctl start dockeransible-playbook prepare.yml -i --key-file And now, let's go to the essential part, deploying OpenShift.First we clone the openshift-ansible repository, switching to tag release-3.6:git clone https://github.com/openshift/openshift-ansible.gitAnd then we apply the OpenShift installation playbook over the nodes we configured in the inventory file:
cd openshift-ansible
git checkout origin/release-3.6ansible-playbook -c paramiko -i openshift-ansible/playbooks/byo/config.yml --key-file Be warned that it may take a long time to complete (up to ~hour and a half to finish), but no worries, we are almost done!
OpenShift cluster post installation configuration
Once the installation playbook is finally completed, you can directly SSH in the host you designated as master and check your cluster's status.[centos@ip-10-0-0-7 ~]$ oc get nodesAnd create a user / pass to access OpenShift Web Console:
NAME STATUS AGE VERSION
ip-10-0-0-4.ec2.internal Ready 11d v1.6.1+5115d708d7
ip-10-0-0-7.ec2.internal Ready 11d v1.6.1+5115d708d7
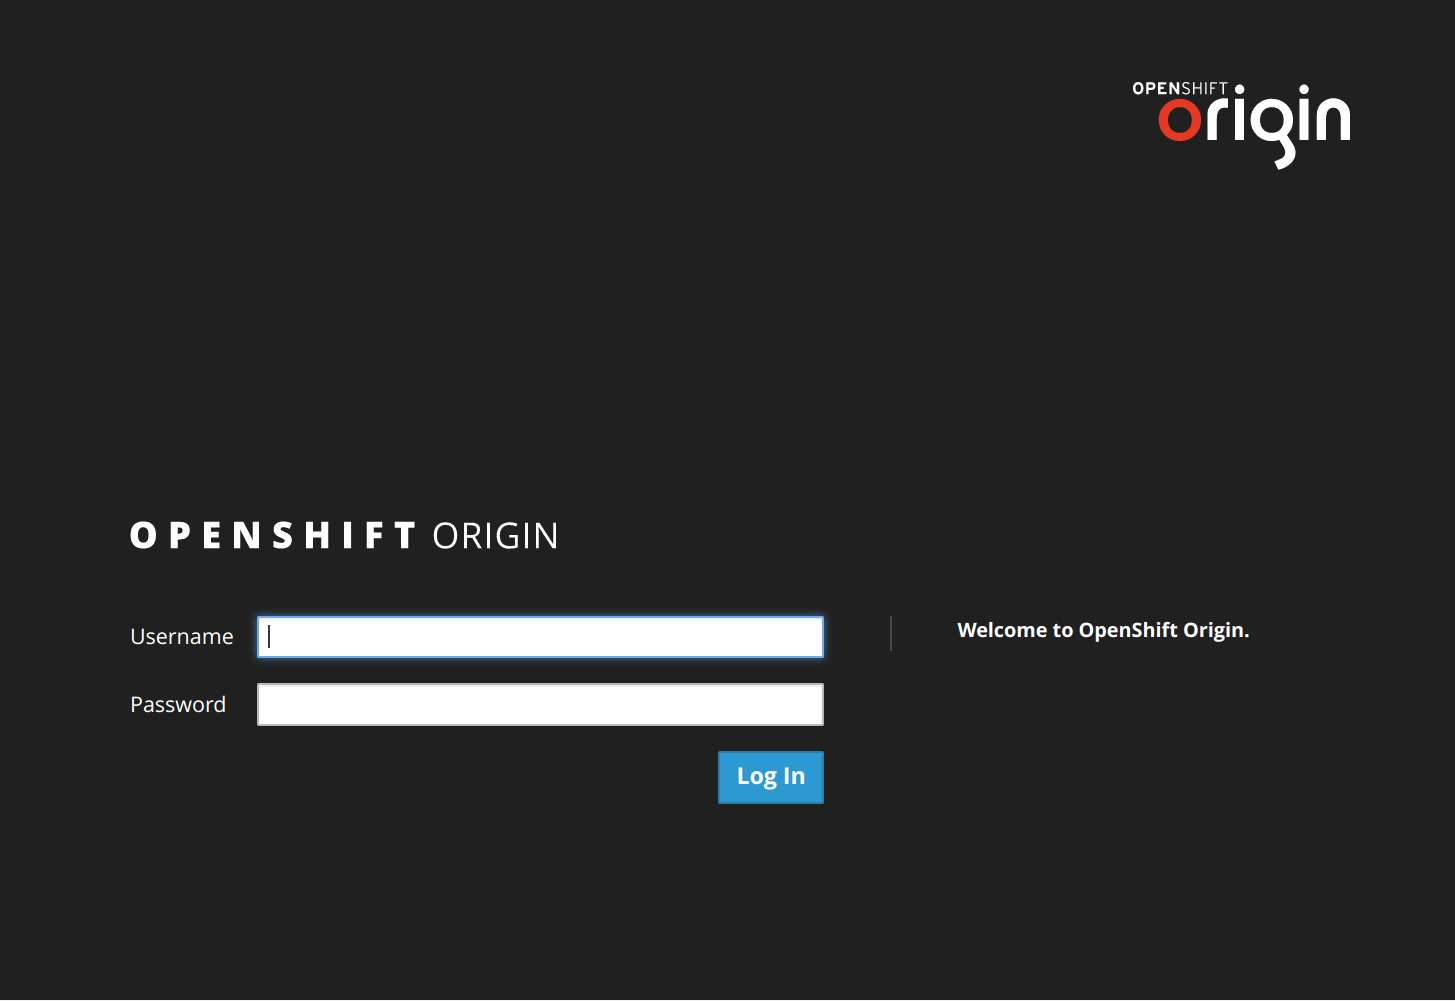
ip-10-0-0-9.ec2.internal Ready 11d v1.6.1+5115d708d7sudo htpasswd -b /etc/openshift/openshift-passwd admin If you browse to https://public-master-dns-name:8443 (you will find it on your hosts inventory file and your will receive a self-signed certificate security warning), using the previous credentials you should be able to login into the OpenShift Web Console.
Monitoring and secure OpenShift cluster with Sysdig Container Intelligence Platform
As a bonus point, like in all the cluster deployments we do, we will install the Sysdig agent following the OpenShift specific instructions. This agent connect the OpenShift cluster to the Sysdig platform (Sysdig Monitor and Sysdig Secure).First create a project, an account and give it the required access level:oc new-project sysdigcloudAnd then, using the Sysdig daemonSet to deploy the agent in each of the cluster nodes:
oc create serviceaccount sysdigcloud
oc adm policy add-cluster-role-to-user cluster-reader system:serviceaccount:sysdigcloud:sysdigcloud
oc adm policy add-scc-to-user privileged system:serviceaccount:sysdigcloud:sysdigcloudoc create -f sysdigcloud_daemonset.yamlAs detailed in the support documentation, you will need to configure at least the serviceAccount and Sysdig Cloud access key in this yaml file for it to deploy correctly on OpenShift.After a few seconds, you will be able to see exactly one Sysdig agent per node:$ oc get pods -o wideYou can now go to your Sysdig Container Intelligence Platform to start monitoring…
NAME READY STATUS RESTARTS AGE IP NODE
sysdig-agent-pdxrw 1/1 Running 0 1d 10.0.0.9 ip-10-0-0-9.ec2.internal
sysdig-agent-pzwdf 1/1 Running 0 1d 10.0.0.7 ip-10-0-0-7.ec2.internal
sysdig-agent-rzpvj 1/1 Running 0 1d 10.0.0.4 ip-10-0-0-4.ec2.internal
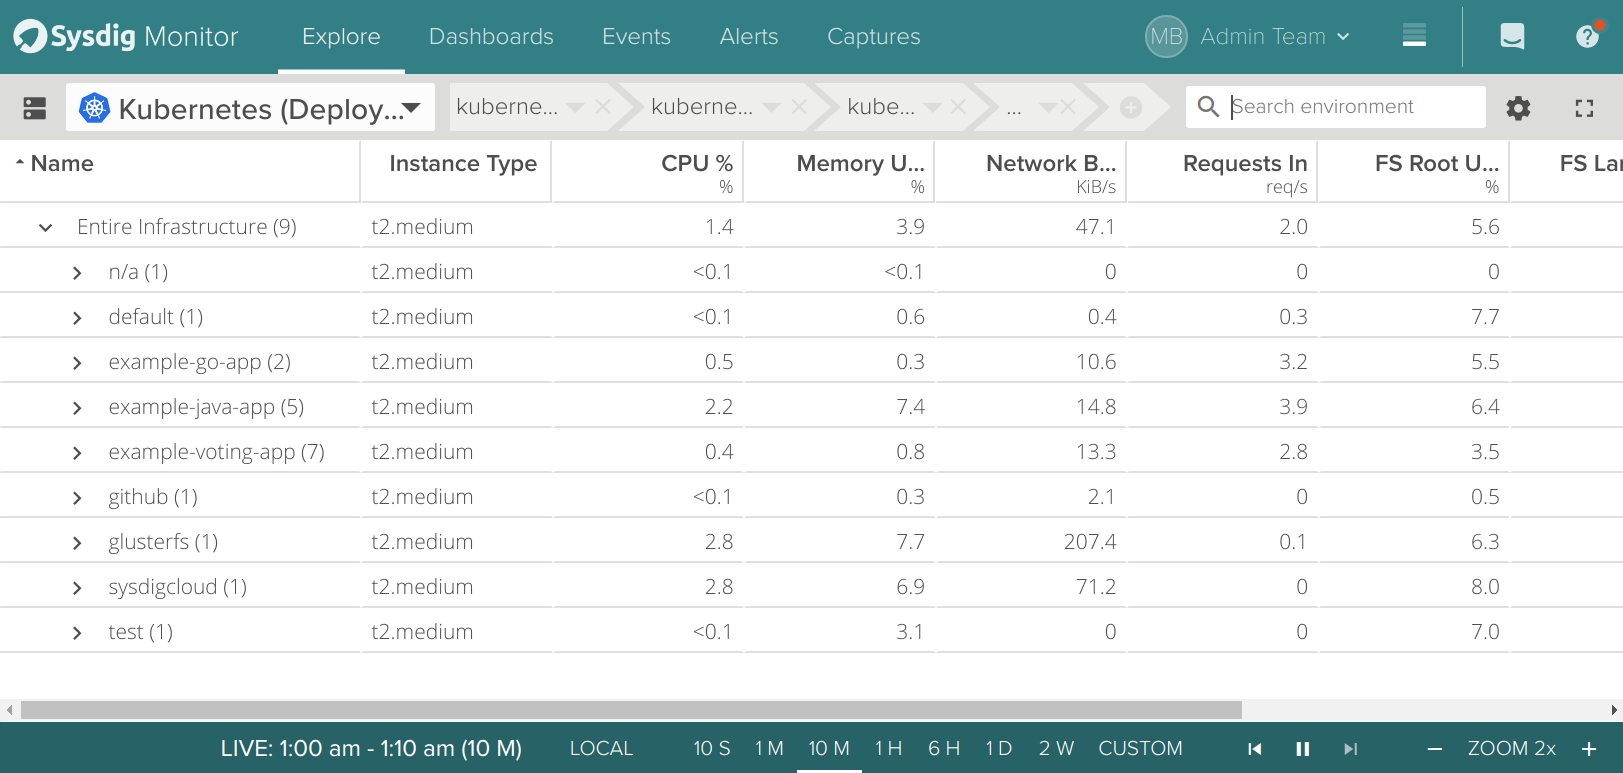
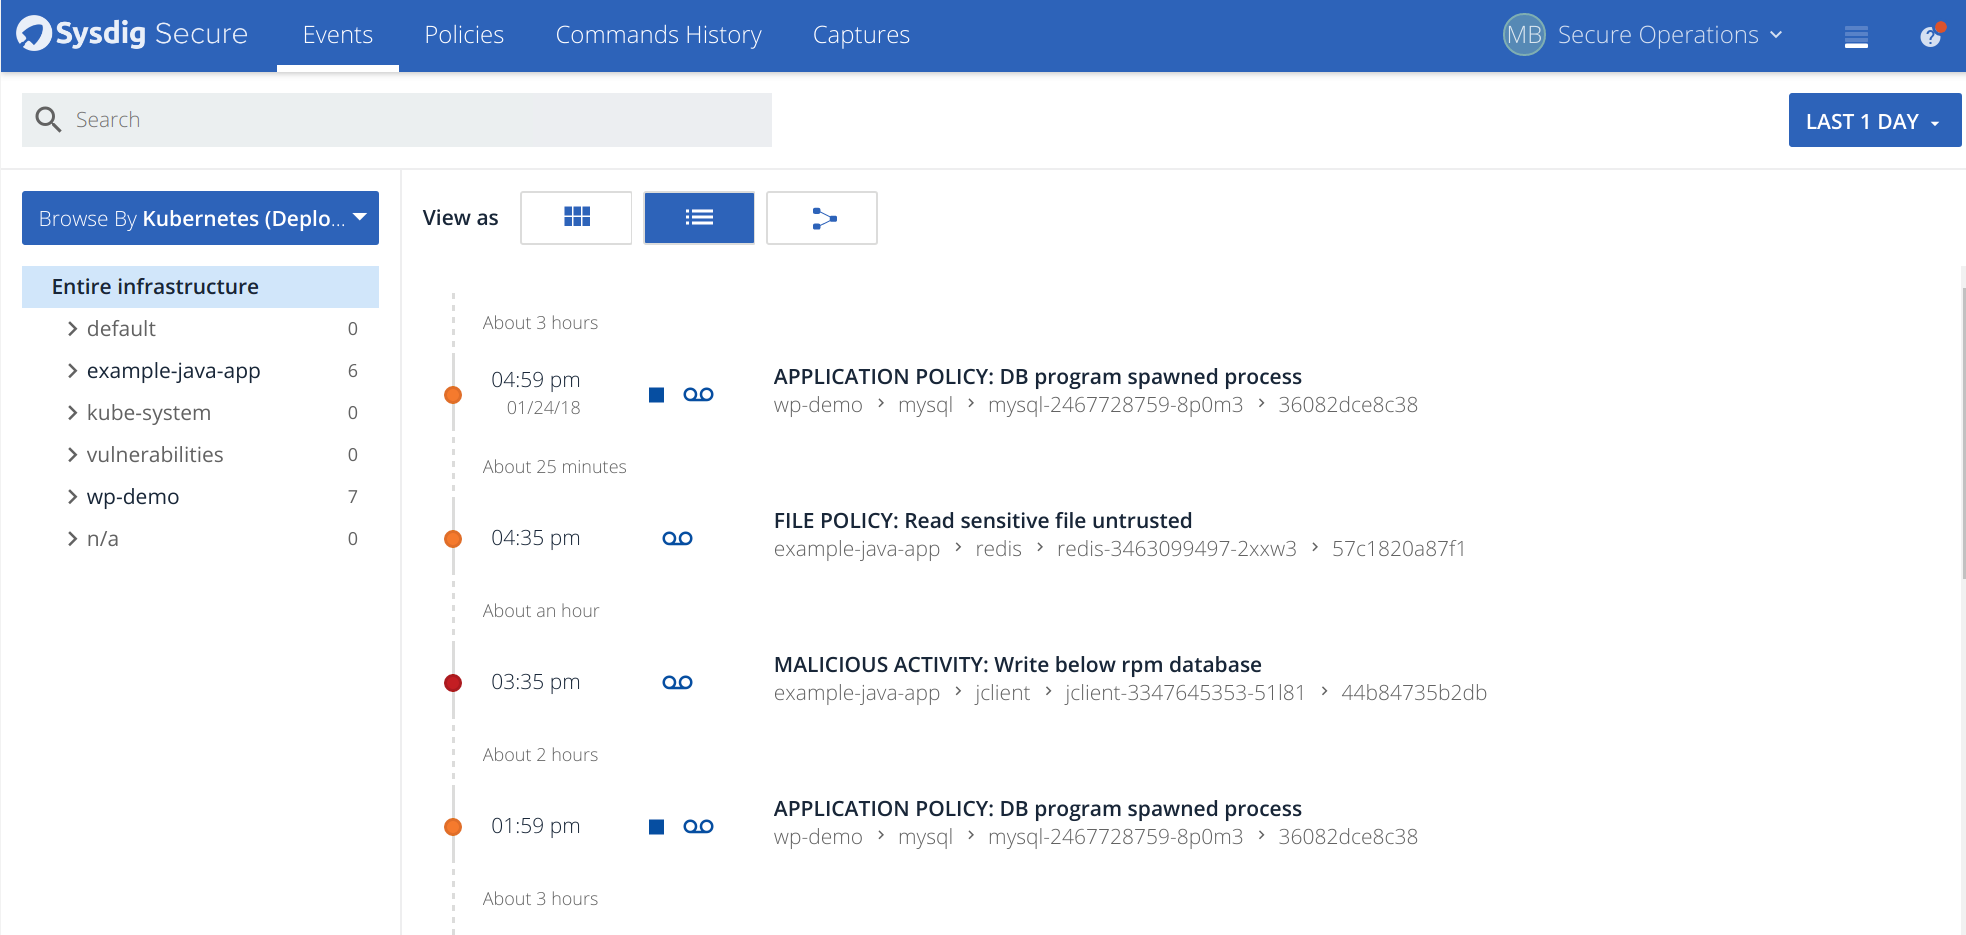
…and implementing security policies for your new OpenShift environment!
Hopefully you find this deployment method useful and you can reuse and customize some of the code snippets we used to get started with this OpenShift cluster.