


MicroK8s is a lightweight Kubernetes distribution that is designed to run on local systems. Canonical, the open source company that is the main developer of MicroK8s, describes the platform as a "low-ops, minimal production" Kubernetes distribution. If you have ever wanted to set up a production-grade, high-availability Kubernetes cluster without having to deploy multiple servers or manage complex configurations, MicroK8s may be the distribution for you.
While MicroK8s doesn't offer all of the features of standard Kubernetes, it is designed to offer the minimal scope of functionality necessary to run a production-grade cluster. And, because MicroK8s can run on a basic Linux, Windows, or macOS system, it's much easier to set up and host than most other Kubernetes variants.
What Is MicroK8s Used For?
Unlike most other Kubernetes distributions that are designed to run on local machines (like Minikube and K8s), MicroK8s is not intended just for testing purposes. It's designed to be capable of supporting full-fledged, production-grade clusters, even if they are hosted on a standard PC or laptop.
That said, MicroK8s can nonetheless be useful for testing and experimentation. It's particularly valuable for users who want to create more complex Kubernetes environments than those supported by Minikube and K8s, but who don't want to have to run Kubernetes in the cloud or on a cluster of physical servers.
MicroK8s vs. Kubernetes
MicroK8s is very much a full-fledged, CNCF-certified Kubernetes distribution. However, it is different in a few important respects from "heavier-weight" Kubernetes distributions, like Rancher, OpenShift, and EKS.
| MicroK8s | Other standard Kubernetes distributions | |
| Installation process | 1-2 commands or installer package | Complex, multi-step installation |
| Can run on a local machine? | Yes | Not really (theoretically possible, but not a supported use case) |
| Supported operating systems | Linux, Windows, macOS | Linux (worker nodes can run on Windows) |
| Supported container runtimes | Containerd, Kata | All major runtimes |
| Networking support | Calico, Cilium, CoreDNS, Traefik, NGINX, Ambassador, Multus, MetalLB | All major CNI-compliant networking plugins |
| Storage options | Hostpath storage, OpenEBS, Ceph | All major CSI-compliant storage setups |
In short, it's fair to say that MicroK8s provides production-grade support for all major Kubernetes features and areas of functionality — including things like advanced networking and storage configurations. However, it doesn't provide as many options in this respect as other Kubernetes distributions.
On the other hand, the tradeoff for MicroK8's narrower set of features and functionality is that it's much easier to install than most other distributions. It can also run on any Linux, Windows, or macOS system.
How To Install MicroK8s
Again, MicroK8s can run on Linux, Windows, and macOS. But the MicroK8s installation process is different on each of these platforms.
Installing on Linux
On Linux, you install MicroK8s using snap packages. Snap is enabled by default on Ubuntu and Ubuntu-based Linux distributions. For other distributions, you'll need to install snap before you can install MicroK8s.
With snap installed, download and install MicroK8s by running this command as a superuser (i.e., as root or with sudo):
snap install microk8s --classic
Installing on Windows
On Windows, simply download and run the MicroK8s installer.
Installing on macOS
On macOS, you use Homebrew to install MicroK8s. Set up Homebrew on your system if you haven't already, then grab and install the MicroK8s package:
brew install ubuntu/microk8s/microk8s
microk8s install
Starting MicroK8s
The MicroK8s installer will start MicroK8s automatically. You can verify that it's running with:
microk8s status --wait-ready
However, just because your MicroK8s cluster is up doesn't mean that it's ready to use yet. By default, MicroK8s runs a minimal set of services. To enable additional services and features, you need to specify them with a command such as:
microk8s enable dashboard dns registry istio
This starts the MicroK8s dashboard, DNS, container registry, and Istio. To display all available services, run:
microk8s enable --help
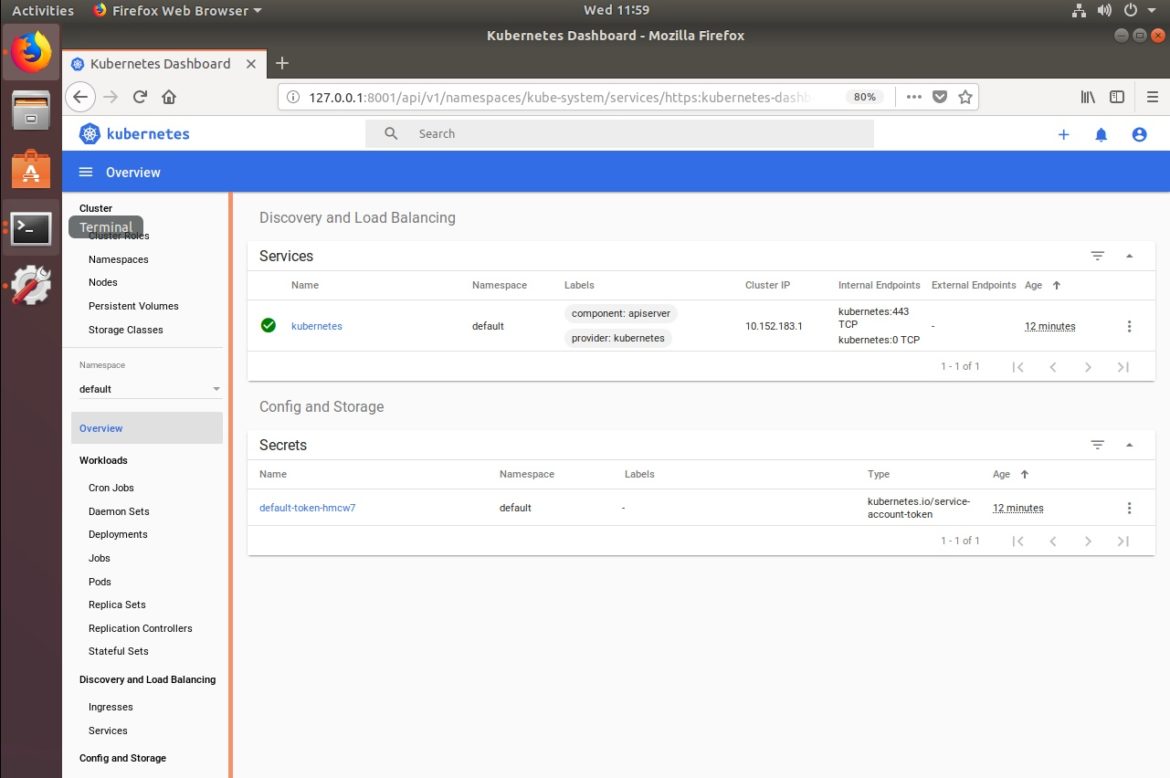
Using the MicroK8s Dashboard
MicroK8s uses the standard Web-based Kubernetes dashboard to provide a graphical interface for managing MicroK8s clusters. However, the dashboard is not enabled or configured by default.
Source: https://microk8s.io/docs/addon-dashboard
To use the dashboard, first enable it with:
microk8s enable dashboard
The dashboard will be available on your local system by opening a Web browser to the URL
https://127.0.0.1:10443/.Code language: JavaScript (javascript)
Getting the Dashboard Token
To log into the dashboard, you need an access token. You can get the token on Linux by running these commands in a Bash shell:
token=$(microk8s kubectl -n kube-system get secret | grep default-token | cut -d " " -f1)
microk8s kubectl -n kube-system describe secret $tokenCode language: PHP (php)
On Windows and macOS, use this command on your CLI to find the token:
multipass exec MicroK8sVM--sudo / snap / bin / microk8s kubectl - n kube - system describe secret $(multipass exec MicroK8sVM--sudo / snap / bin / microk8s kubectl - n kube - system get secret | grep
  default -token | cut - d " " - f1)Code language: JavaScript (javascript)
Alternatively, you can configure MicroK8s to let you access the dashboard without a token by instead creating a user with the requisite permissions. The Kubernetes documentation explains how to do this; note, however, that you'll need to enable RBAC in MicroK8s for this approach to work:
microk8s enable rbac
Managing MicroK8s Clusters
By default, MicroK8s creates a single-node cluster when it starts. But you can easily add Kubernetes nodes to an existing cluster with:
microk8s add-node
To remove a node, first log into it and run:
microk8s leave
This will remove workloads from the node. Once the removal is complete, remove the node entirely from your cluster with:
microk8s remove-node 192.168.1.10Code language: CSS (css)
(Specify the node's IP address as appropriate.)
High Availability Clusters
One of the coolest features in MicroK8s is that it automatically supports high availability as long as you give it a cluster that consists of at least three nodes. When you do, it automatically replicates the cluster's data store across each node. That way, you are not dependent on a single master node to keep your cluster running.
To enable high availability, then, all you need to do is create a cluster with at least three nodes total using the add-node command (see above for more on this). You can then verify that MicroK8s is running high availability mode with the command:
microk8s status
The output should include a field that reads high-availability: yes.
MicroK8s vs. K3s and Other Alternatives
The Kubernetes distribution that is most similar to MicroK8s is K3s. K3s is also designed to be a production-ready Kubernetes distribution that can run in a lightweight environment.
In most respects, MicroK8s and K3s are quite similar. The two main differences include:
High availability support: Although both MicroK8s and K3s support high availability, K3s doesn't enable it automatically. You have to set it up explicitly, whereas with MicroK8s, high availability is turned on by default once your cluster becomes large enough.Automatic updates: MicroK8s can be automatically updated using snap packages. K3s provides tooling (via the Rancher system-upgrade-controller) to perform cluster upgrades, but you have to run the upgrades manually.
More generally, MicroK8s also supports more container runtimes than K3s, as well as more networking and storage options.
Disadvantages of MicroK8s
While MicroK8s is a great solution for developers who want a lightweight Kubernetes distribution that is also production-ready, it has some drawbacks.
One is MicroK8s's dependency on snap packages as the only supported installation channel for Linux. Snap is great if you're using Ubuntu or another distribution that supports snaps by default, but it's a hassle on other systems. Indeed, it's not unreasonable to say that, for Linux distributions other than Ubuntu and its derivatives, MicroK8s is not the best option.
Relatedly, MicroK8s lacks portability in the respect that it's designed to be deployed on a single host machine and stay on that host machine. MicroK8s offers no native functionality for moving a running cluster from one PC or server to another.
Another potential drawback of MicroK8s is that — although it has a lot of default options and features that most developers would probably consider "smart" — it provides limited control over them. For example, you can't disable the automatic high availability feature. Once your cluster gains at least three nodes, it will be highly available, whether you want it to or not.
Finally, MicroK8s also isn't designed to run in the cloud. Although there's nothing stopping you from spinning up a cloud-based VM and deploying MicroK8s in it, it would make more sense to use a cloud-centric Kubernetes distribution, like EKS, AKS, or GKE, if you want to host workloads in the cloud.
Conclusion
In most respects, MicroK8s offers the broadest set of features for a lightweight Kubernetes distribution. At the same time, it manages to be easy to install and configure. Its major downsides are that the configuration options it provides are limited, and it's tied more closely to the Ubuntu ecosystem than some users may like.